
Homepage

1. If you are the first person to enter a wiki you will be asked to create the “homepage”. This is the first page that will be used in the wiki, and all other content will be linked to from here.
Clearly named?
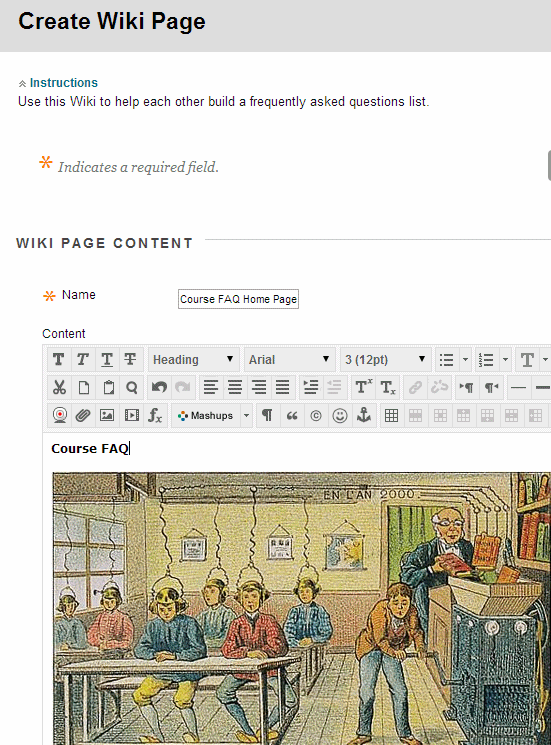
Therefore give the page a sensible name that will make this clear to the other users of the wiki.
Layout
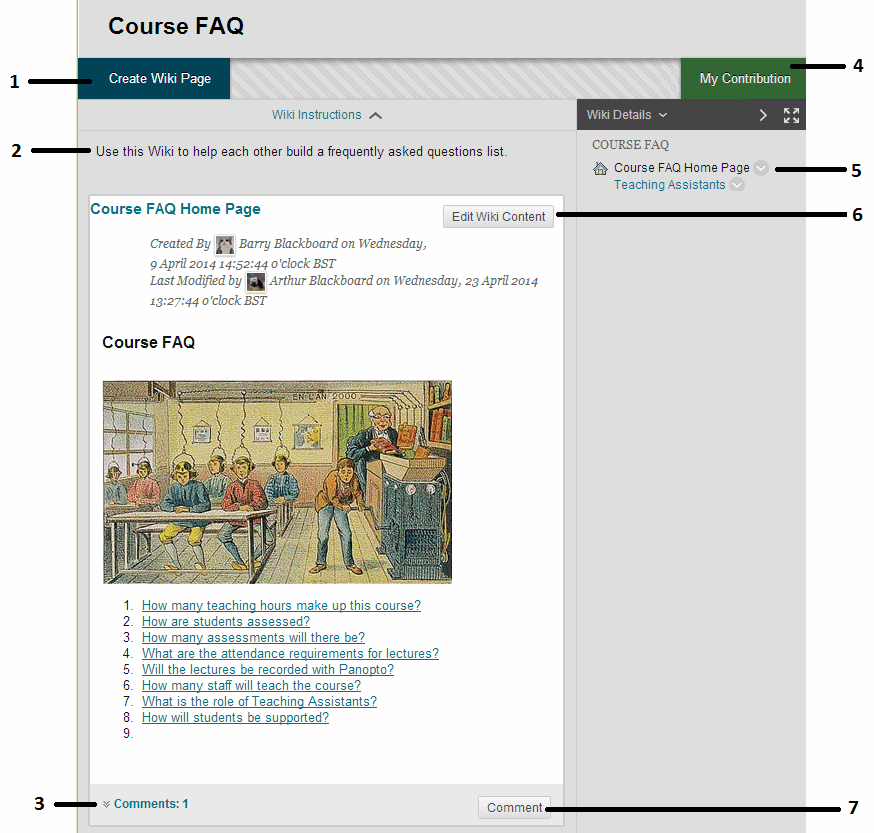
2. After the initial first page has been created a wiki will look something like this. Here follows an explanation of the icons and buttons.
1 – Create Wiki Page
Use this button to create a new page in the wiki. Once the page is created you can then edit an existing page to create a link to this new page.
2 – Instructions
Any instructions entered by the course instructor will be shown here.
3 – Comments
This shows if any comments have been added to the page. Click on the downward pointing arrow to reveal comments.
4 – My Contribution
Clicking on this button will show some details about your usage of the wiki. This information may not be 100% accurate due to technical reasons.
5 – Page list
All pages of the wiki are shown here. A modify button is beside each one. Clicking on this button brings up a menu allowing you to edit the page or review the history of how it was made.
6 – Edit Wiki Content
Click on this button to edit the current page.
7 – Comment
Click on this button to add a comment.
Useful
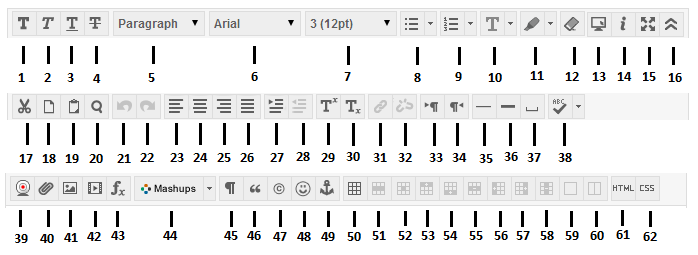
You can find an explanation of all the buttons in the text editor at this web page https://elearn.southampton.ac.uk/blackboard/WYSIWYG.
Mashed up
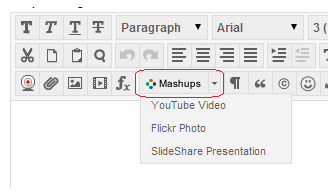
4. Some very useful features are hidden within the Add MashUp button:
1 – Embed a YouTube video
2 – Embed a Flickr Photo
3 – SlideShare Presentation – embed a presentation from the SlideShare web site.
One at a time!

5. Note that only one person can edit a wiki page at one time. If this is the case when you try to edit a page you will receive this warning.