This is a guide on recording webcam audio and screen with MS Stream. You may find that Panopto may be a better and fully supported solution for you.
Please note the following important information before us MS Stream for screen recording.
Screen Recorder works on the following browsers:
Microsoft Edge for Windows 10 Microsoft Edge, version 79 and above on Windows 10 and macOS – Google Chrome, version 74 and above on Windows 10 and macOS.
Safari on MacOS is not supported.
Additionally:
- Microsoft Stream Mobile on iOS and Android is not supported in mobile browsers.
- Recording system audio is available only on Windows, not macOS.
- Including the camera in the recording is available only when recording the entire screen, not when recording an application window or browser tab.
- Screen recordings are limited to a maximum length of 15 minutes. For longer content, break up your video into shorter segments.
- To record longer you could try and host a meeting with yourself in MS Teams using the ‘Meet now button’.
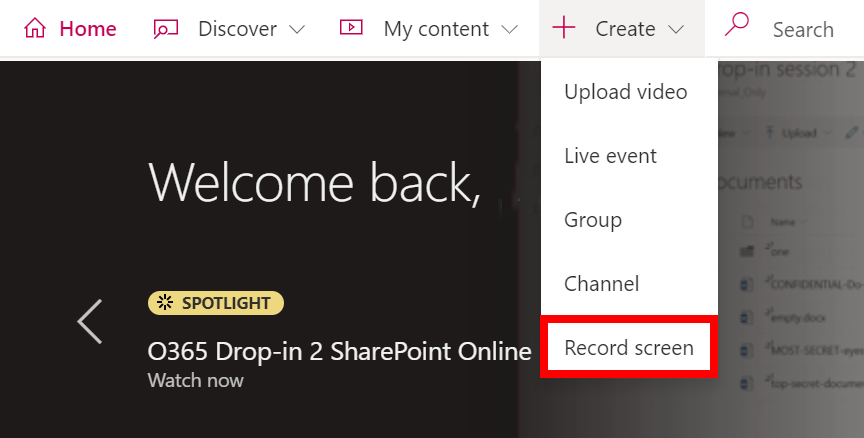
First go to MS Stream ( Direct Link ) and once logged in click on the ‘Create’ button.
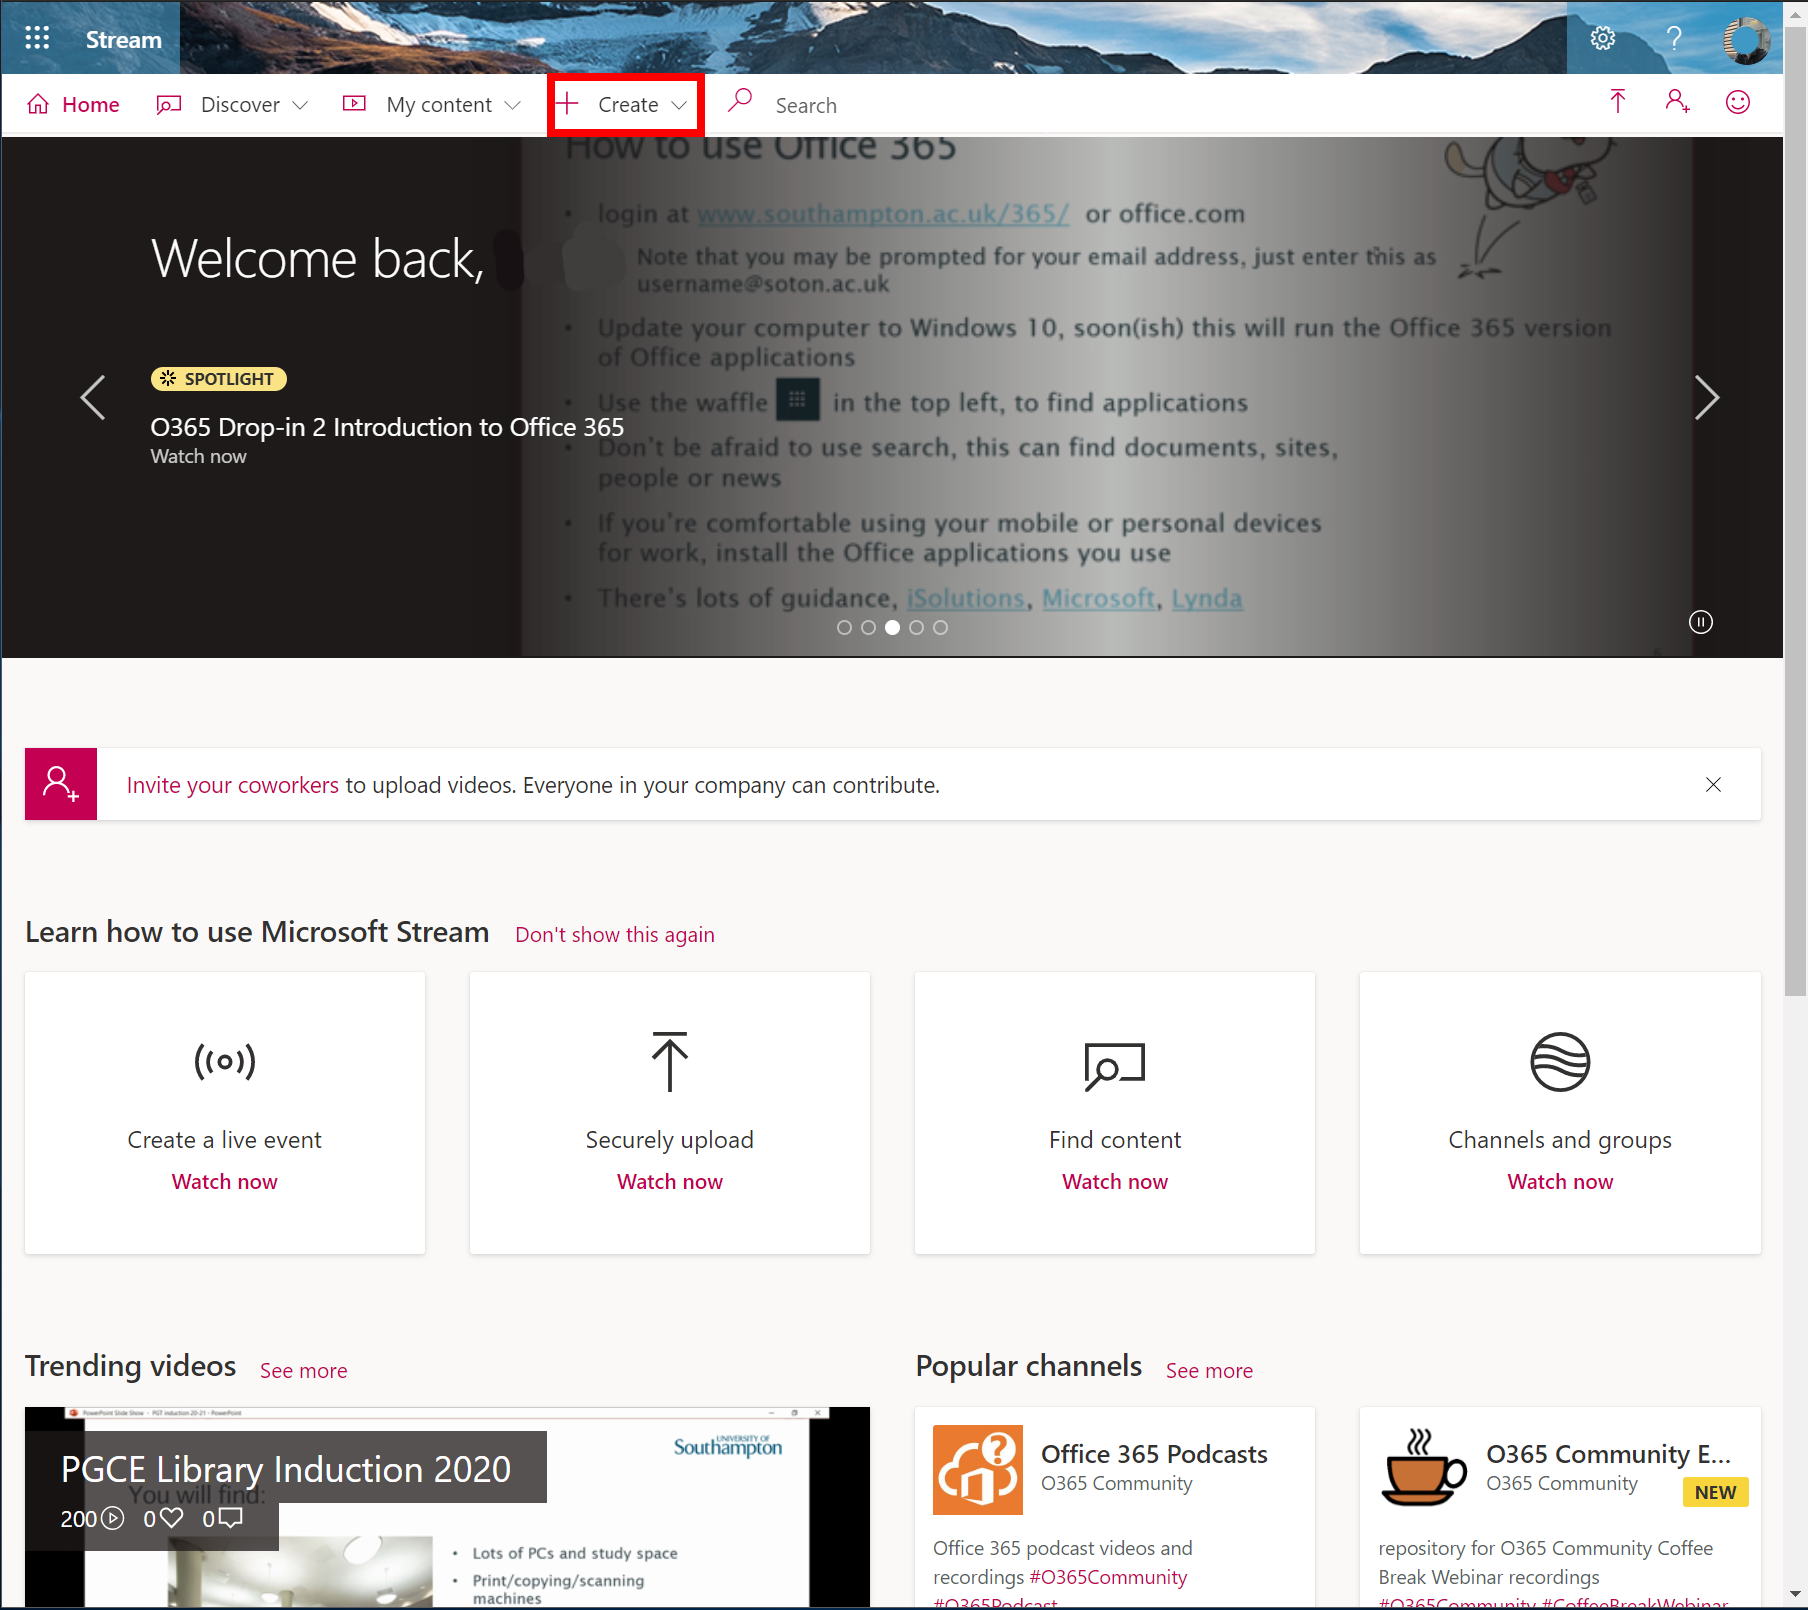
On the drop down list that shows click on ‘Record screen’.
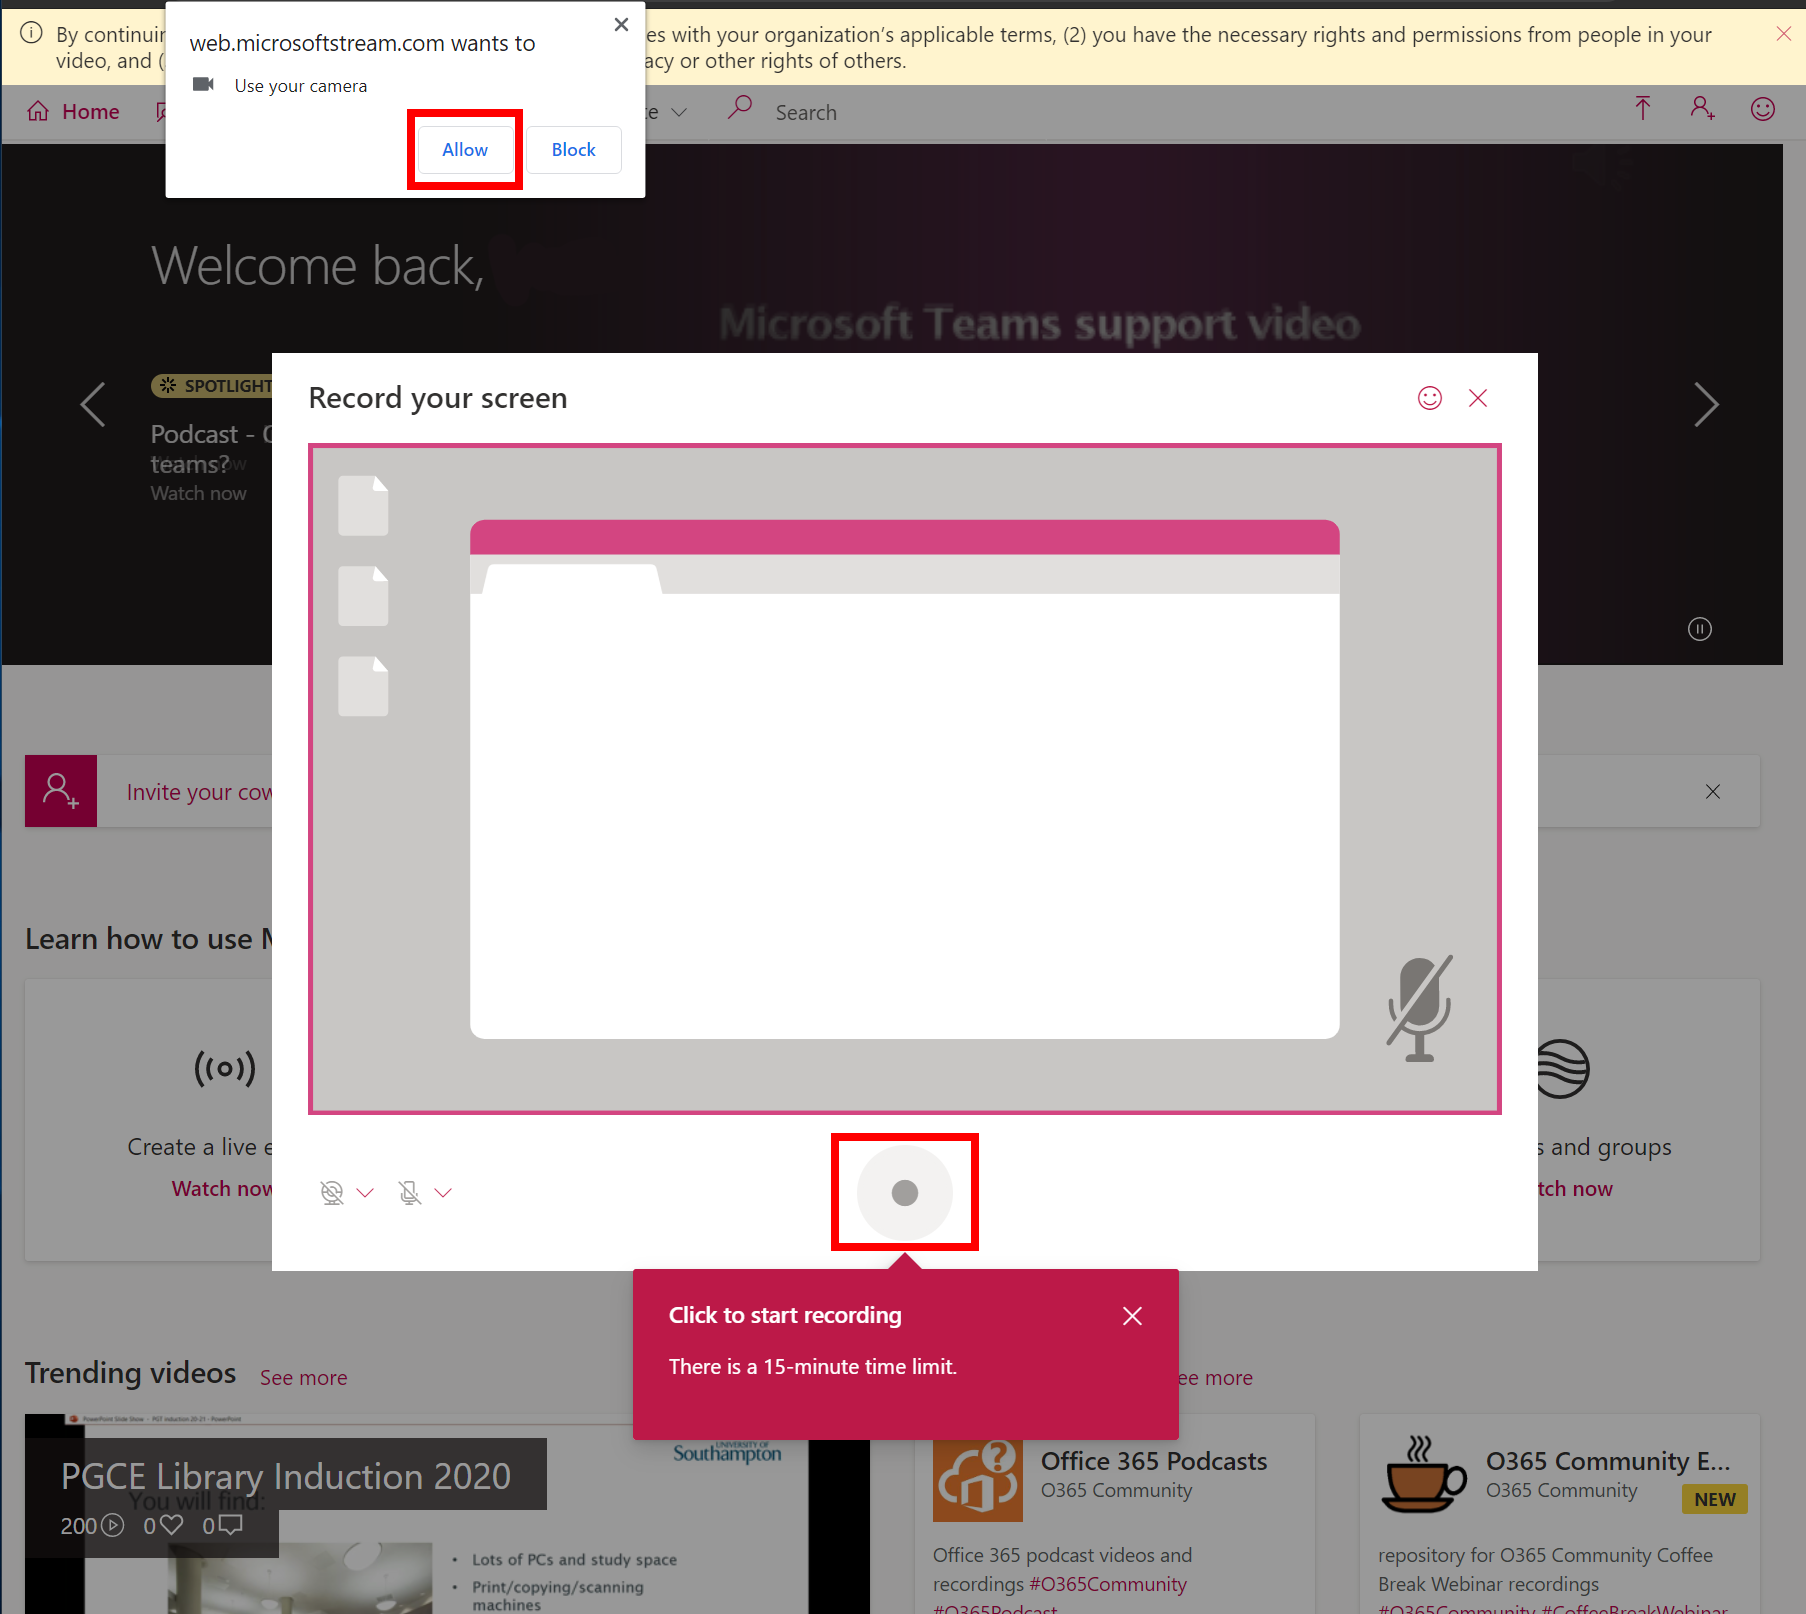
This will load the recorder, for first time use you will need to click to ‘Allow’ Ms Stream to get access/use your webcam and audio inputs. Once done click on the record button.
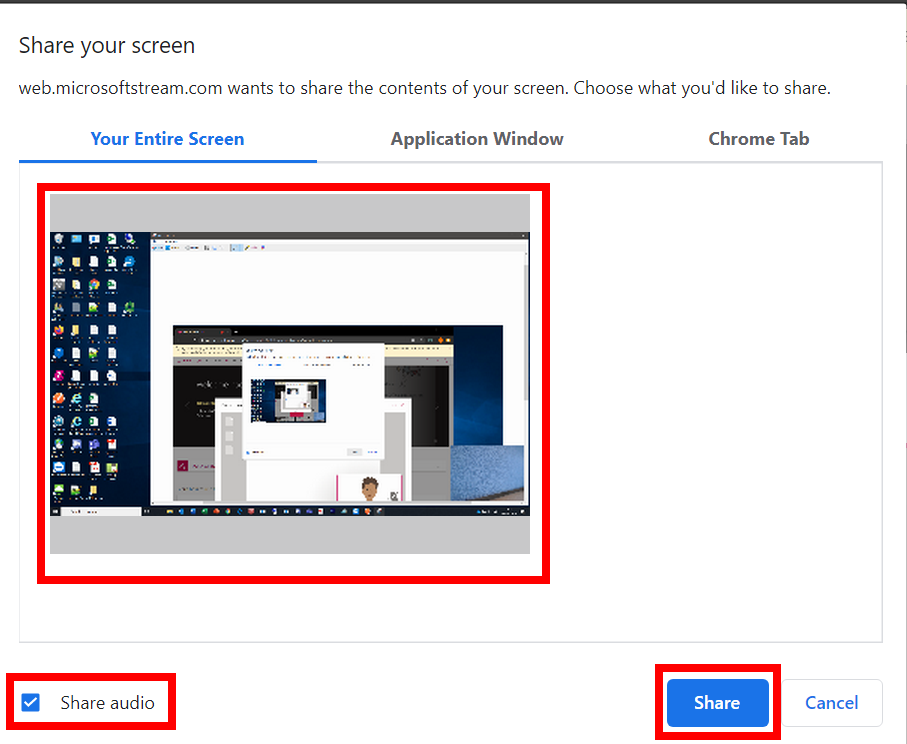
It will the show a new window that will ask you about sharing your screen.
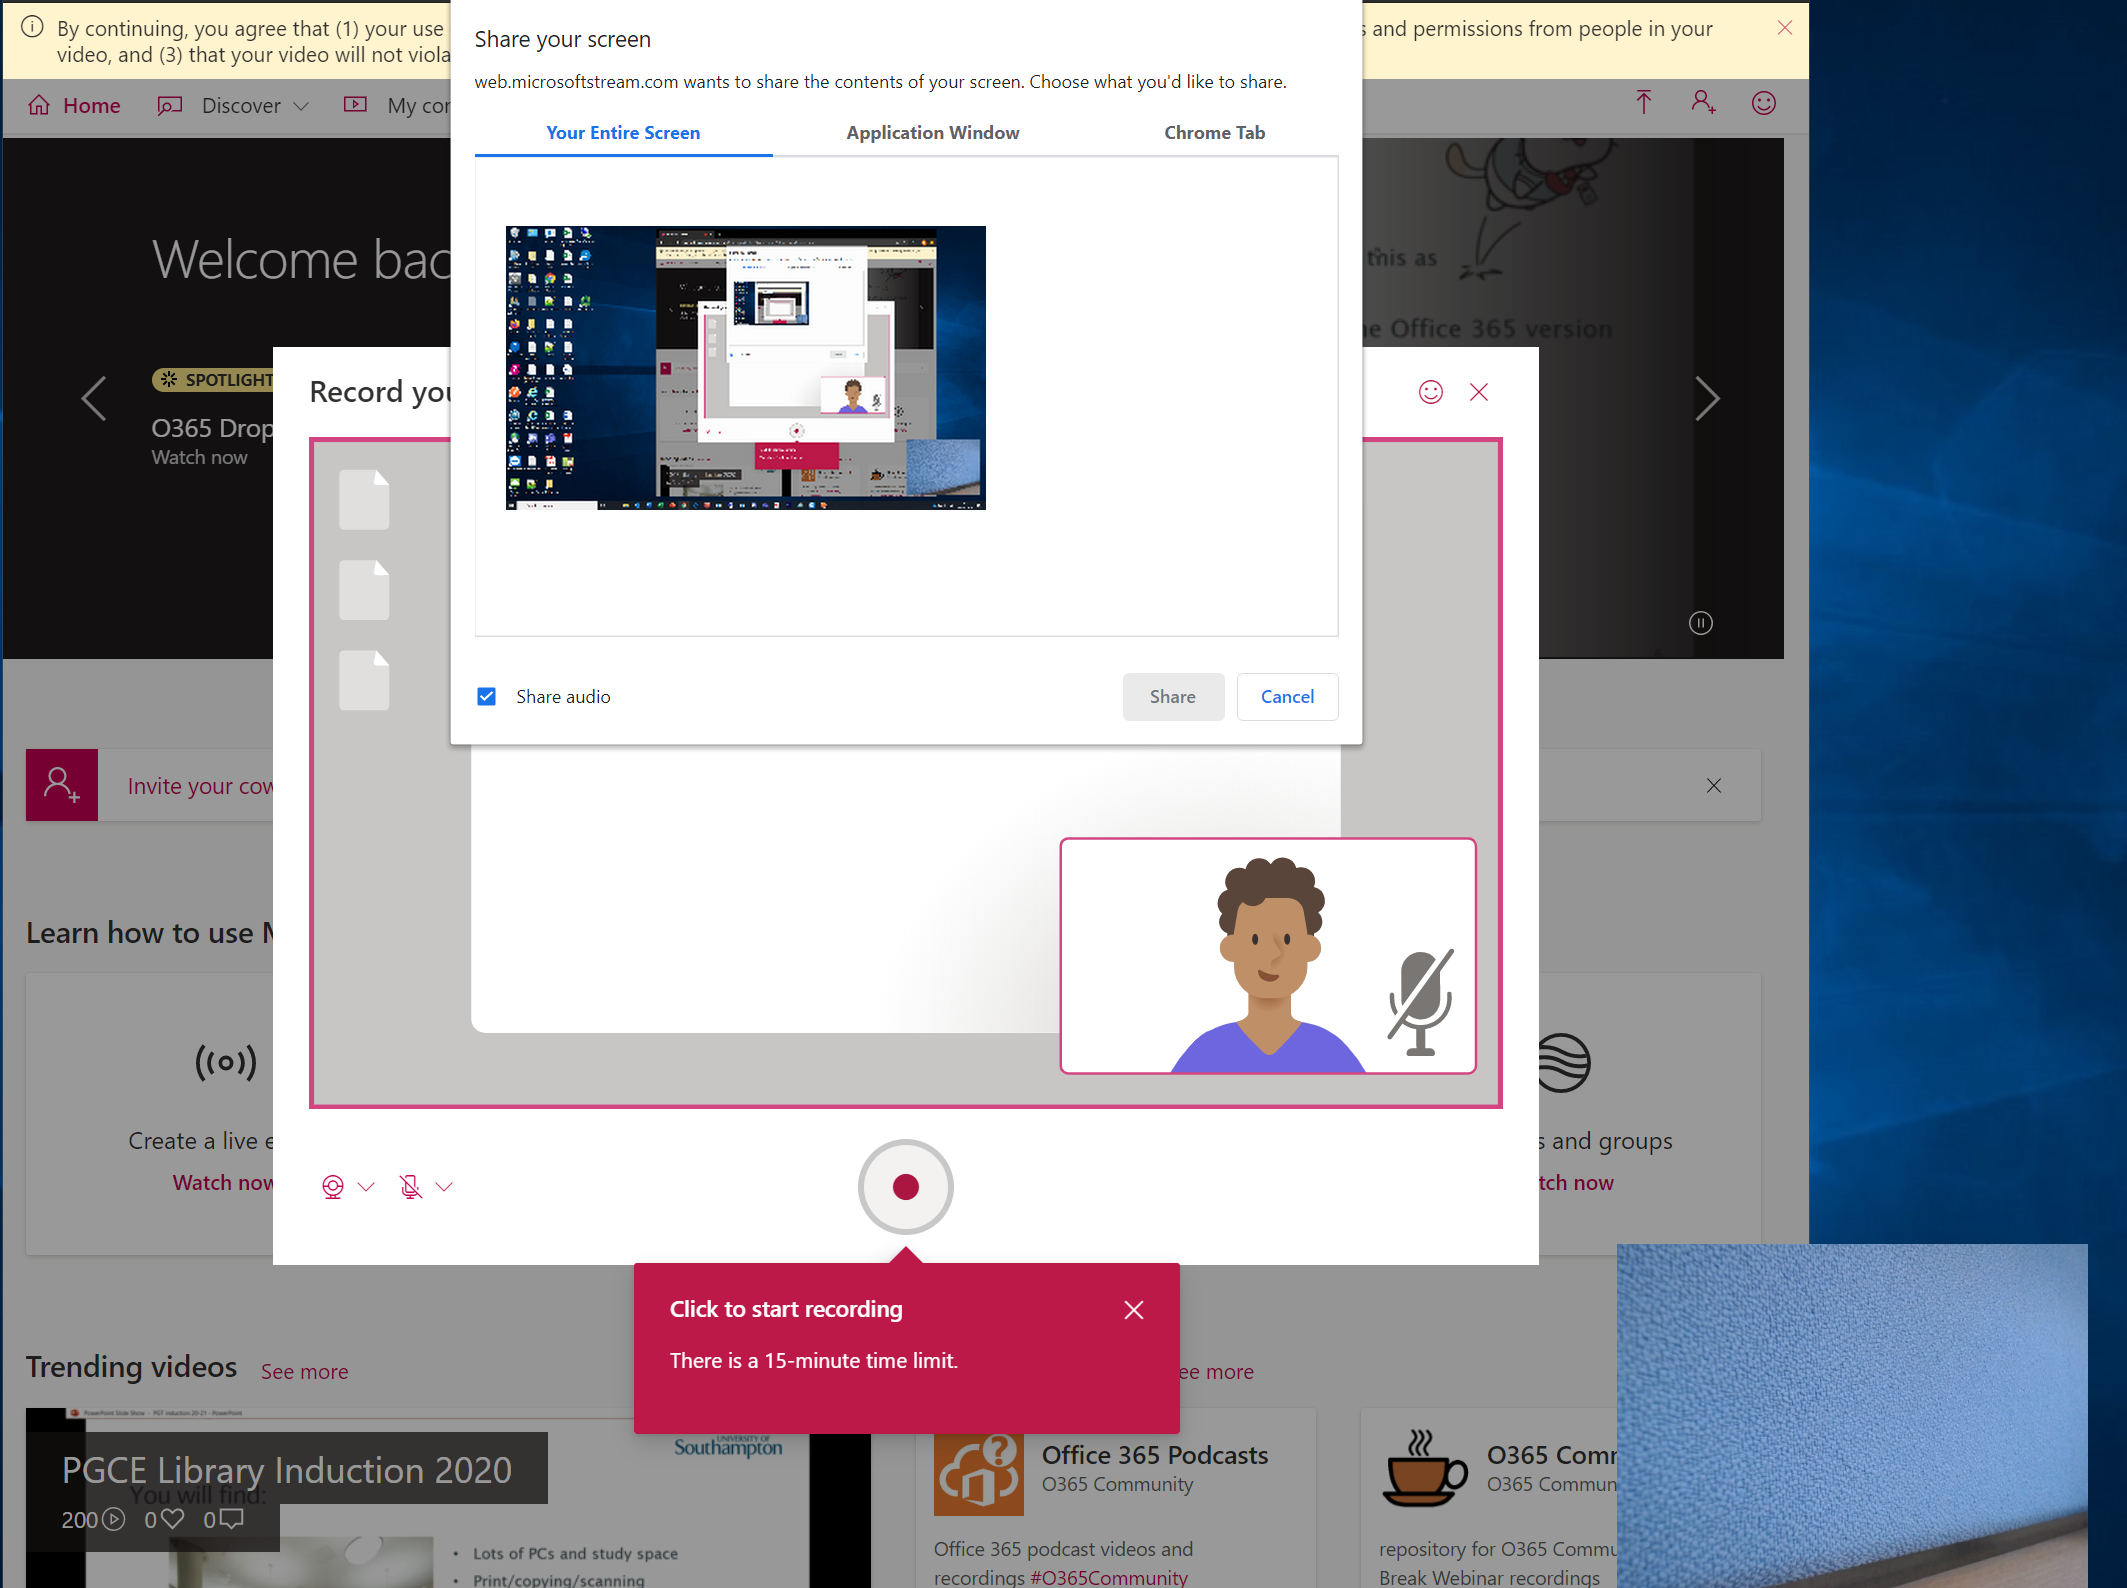
It is best to share ‘Your Entire Screen’ to select this option just click on the screen preview. Note that doing so will then allow you to select the once greyed out ‘Share’ button. If you want to capture any computer audio from videos etc, make sure to check the box for ‘Share audio’.
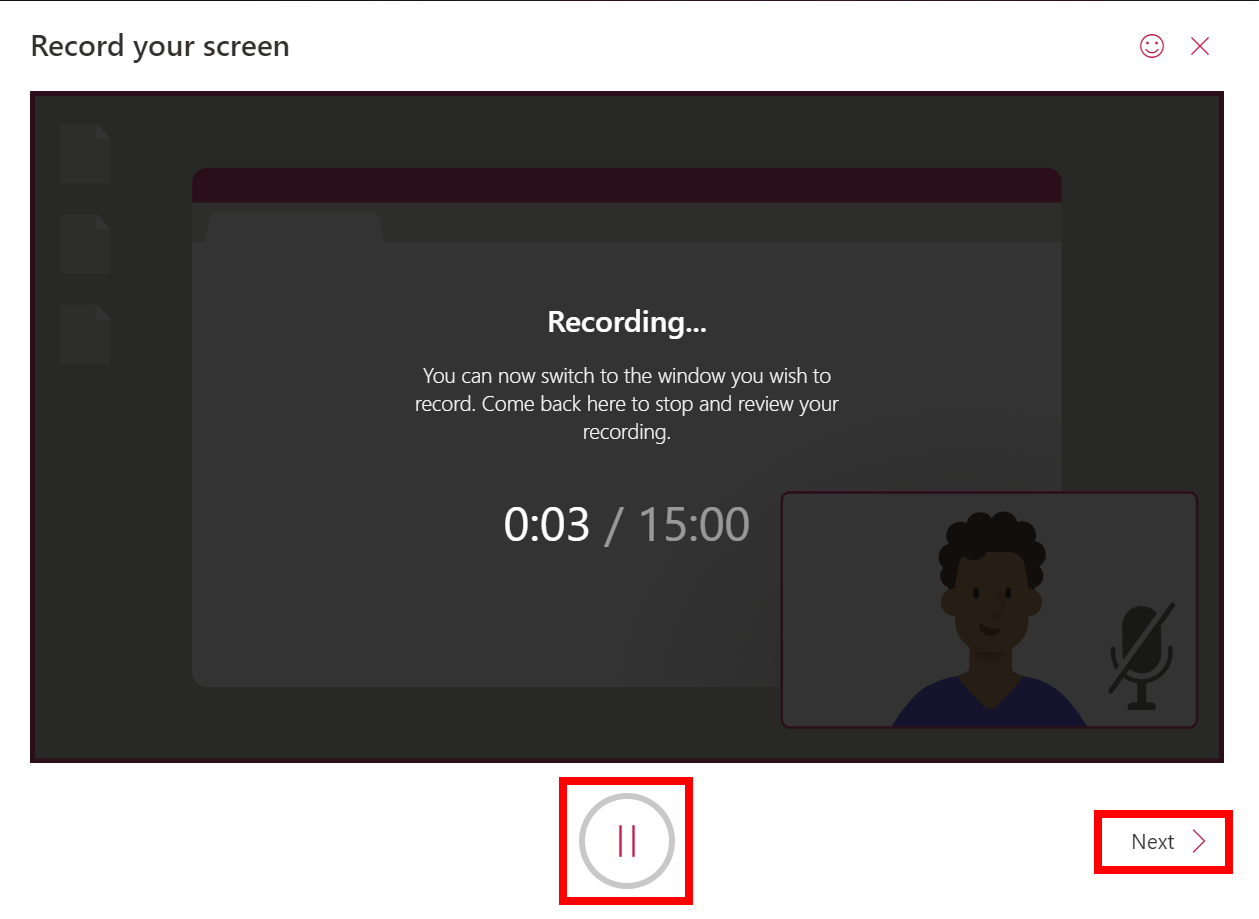
As soon as you have done that your recording will start, you can hit the ‘Pause’ button at any point. When you are happy you have completed your recording you can click on the ‘Next’ button.
Note: You can only record for 15 minutes.
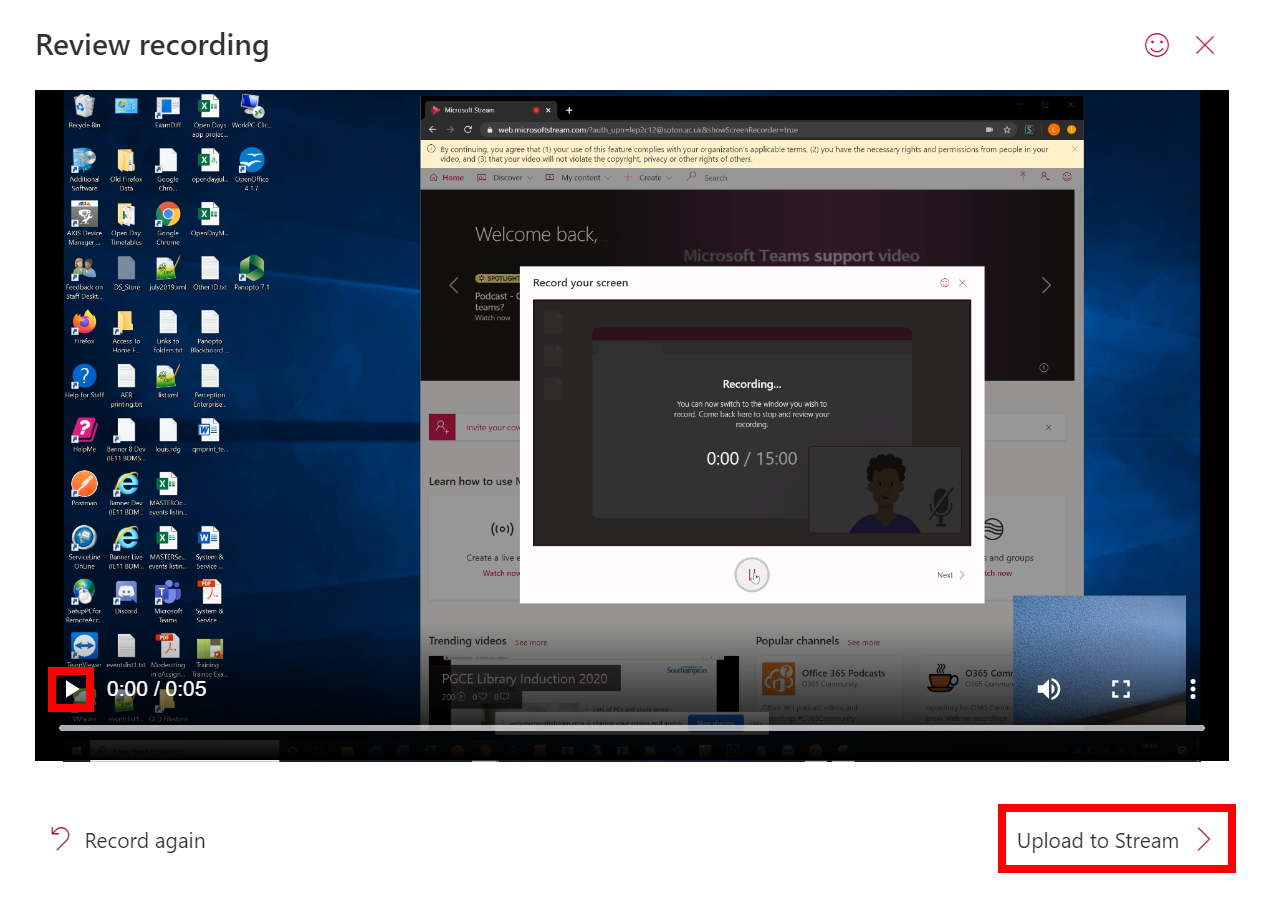
Now you can preview your recording and it will give you two options, to either record the session again or to ‘Upload to Stream’. If happy click on the upload button.
On the next screen your video will start to upload. From here you must give the recording a ‘Name’. you can also add a description.
Note there is an option to set the permission of the video to be share with everyone. If you do this then everyone in the University can see and play this recording.

Once the recording has been upload then you can click on the ‘Publish’ button.
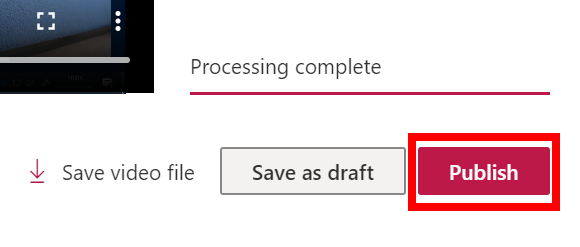
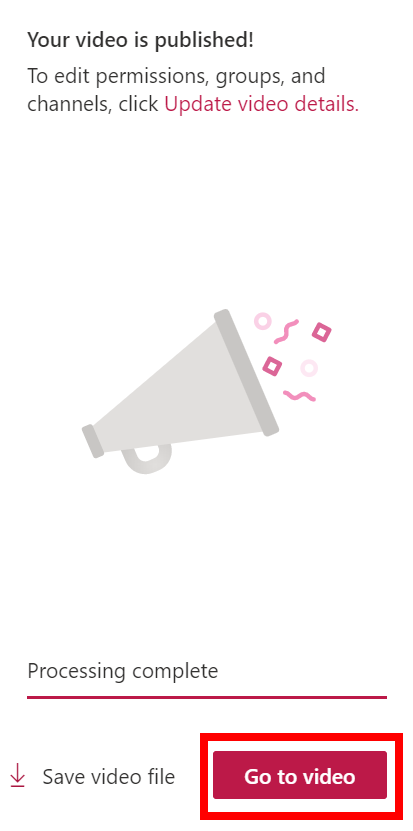
After clicking the button you will not be able to view it until it has completed its processing. Once that has done the button for ‘Go to video’ will work.
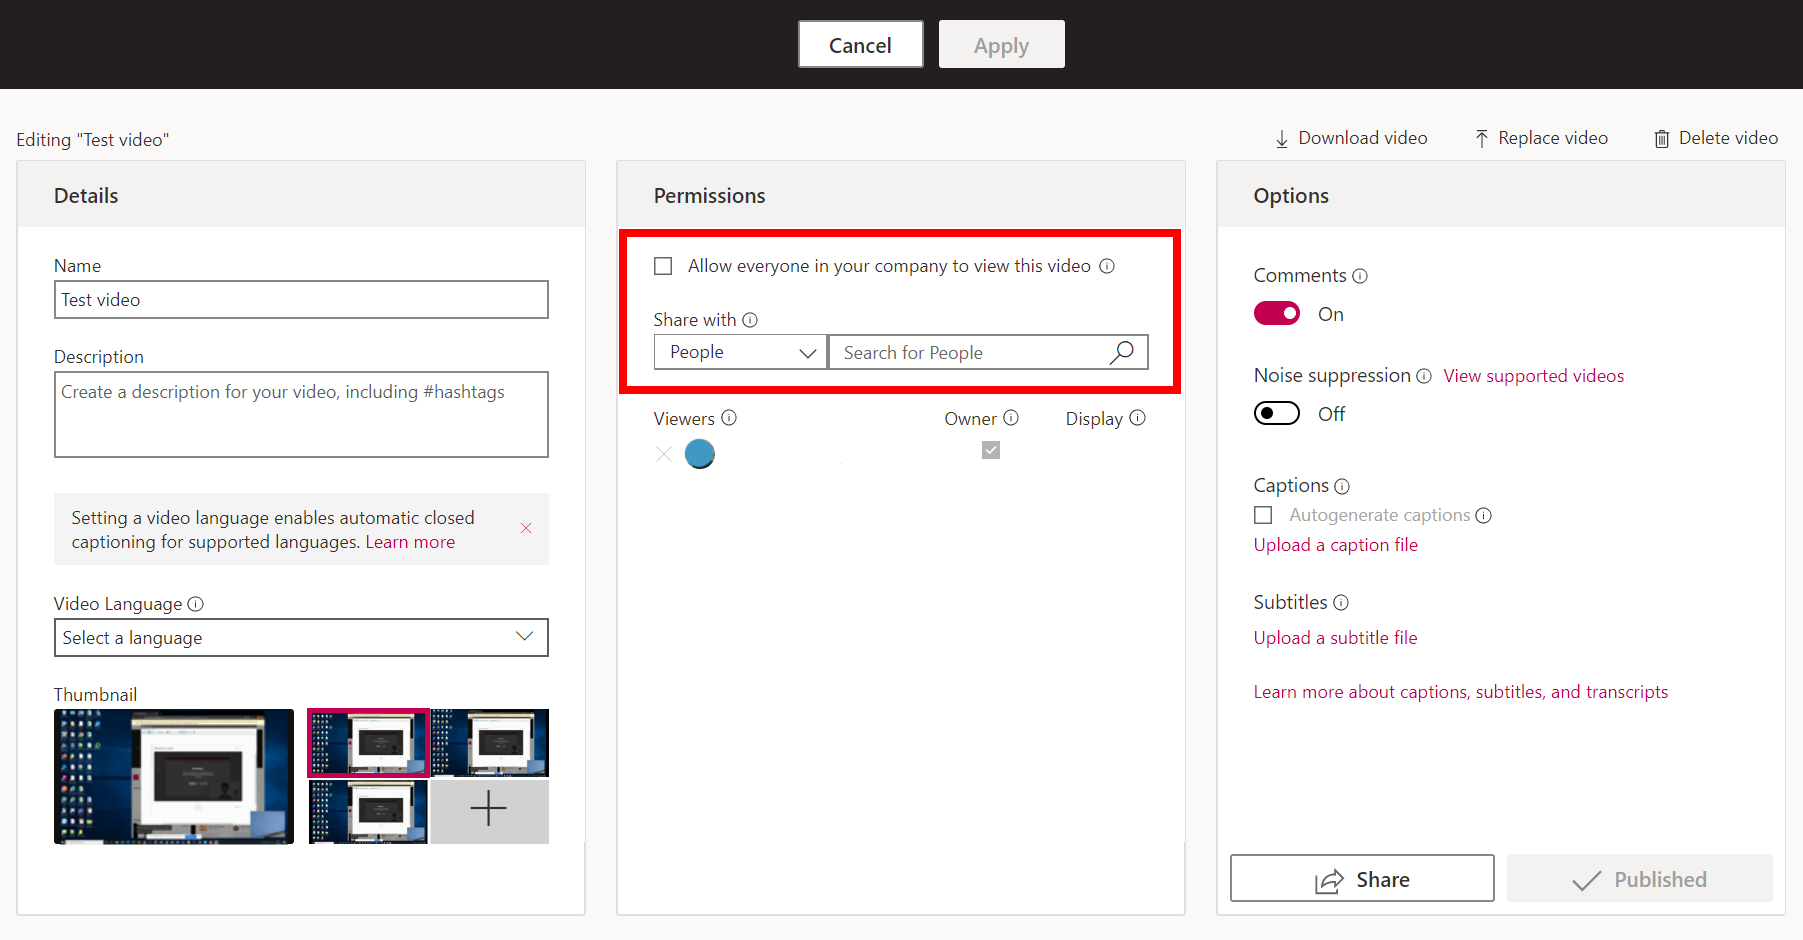
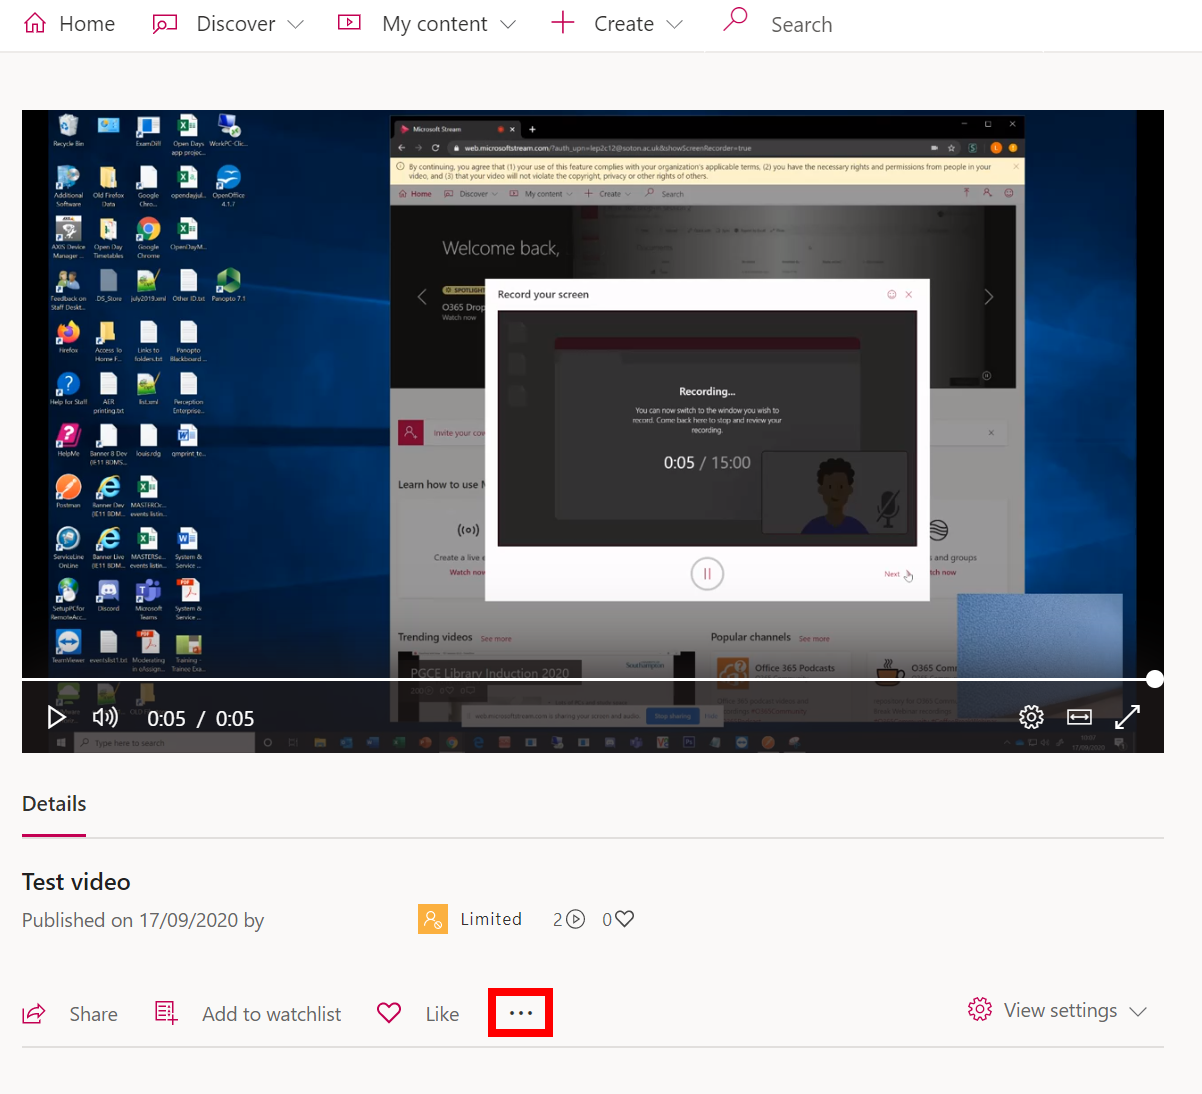
In order to share your video with others you should go to the video. Then on the video information page, click on the three dots for the menu options.
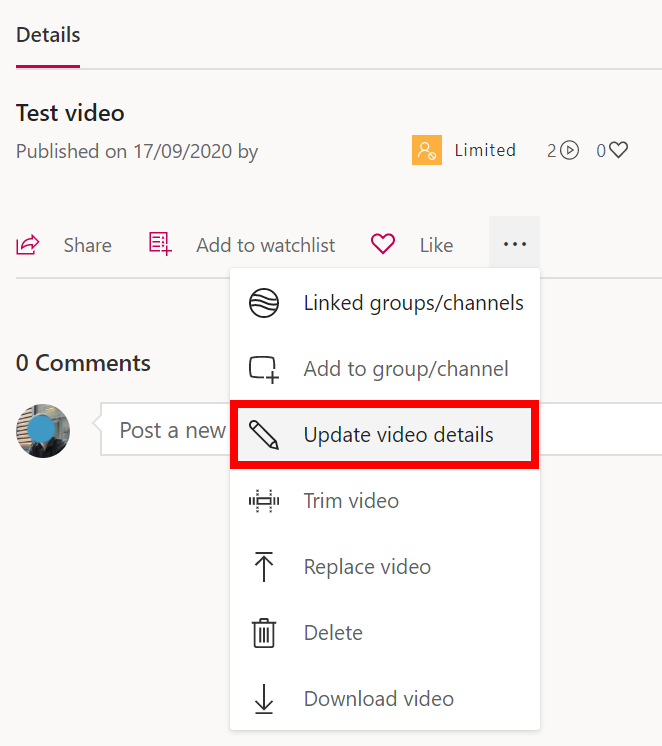
On the new menu options, select the ‘Update video details’ button.
On the video options page under the ‘Permissions’ section you can deselect the shared with everyone option if you accidentally click on it. You can also start typing in the names of people you wish to share the video with. Towards the bottom right is a share button that will create a shared link to send to viewers.
New viewers will show on the list below that allow you to remove the sharing option if wanted. On this page you can change the name of the video and add autogenerated captions. To save any changes click on the ‘Apply’ button.
You may wish to download the video as a .MP4 file and upload it to Panopto.