Return to Blackboard Collaborate For Staff Main Page ↵
| Blackboard Collaborate has a 250 attendee limit. If you wish to use Blackboard Collaborate with more than 250 attendees view our guide. |
In this guide
- Important note about recordings and breakout rooms
- Information about session recording.
- Making recordings.
- Where to find your recordings.
- Downloading chat messages.
- Uploading a recording to Panopto.
- Deleting a recording.
Important note about recordings and breakout rooms
Even while Breakout Groups are underway and a moderator returns to the main room to start recording again, the content of Breakout Groups will not get recorded. Nor will the audio/video shared. Currently text chat will be captured, but this is a bug and that text chat shouldn’t be captured.
Recording Sessions
Moderators have the ability to record their sessions. The recordings themselves are saved as MP4’s, which means you can download them and upload them directly into Panopto. Having the videos in Panopto make them easier for students to watch them back later on.
If you record a session your students will be able to view it and will be able to download a copy of the text chat. Recordings become available on average between 20 minutes and one hour after the session recording is stopped. In busy times this may take longer.
If you enabled “Allow recording downloads” in the session menu, both you and students will have the ability to download the recording video file. If this is not enabled, only course instructors will be able to download the recording.
Important
- Due to limited space to host Collaborate recordings, we ask that, where appropriate, you as instructors download recording from Collaborate and then upload them to the Recorded Session section of Blackboard courses via Panopto. Having done so, delete the Recording from Collaborate. See the recording options menu in step 4 below for the location of the delete link.
Making Recordings
To start recording your session, select Start Recording, located in the Session Menu. The button will then toggle to read Stop Recording to visually indicate the recording is in progress and to allow you to stop it at any time.
Start Recording
![]()
Notification Dialog
![]()
Stop Recording
![]()
Recording In Progress
![]()
Blackboard Collaborate lets attendees know that the session is being recorded in two ways: 1) Visual notifications are enabled by default and a notification dialog displays indicating that recording has started and/or stopped. 2) Collaborate indicates recording is in progress by placing a recording notification icon next to the Session Menu.
It is good practice to remind attendees that the session is being recorded throughout the session. Late arrivals may not notice the recording indicator.
Likewise, Collaborate notifies session attendees that the recording has been stopped by displaying a notification dialog, as well as by removing the recording notification icon from display on the ‘Session menu’ drop-down.
Once the recording is available it can be shared with those who missed the session, or those who attended but would like to review the session. You can also use the recording feature as a lecture capture to create asynchronous learning opportunities.
Keep the following in mind regarding recordings:
- Each time a moderator stops a recording during a session, a separate sequentially named recording is created and an email is sent to the moderator.
- Session recordings include the displayed content during the session, active speaker video, the room audio, public chat, and captions entered during the live session or added later by a moderator.
- Everyone who has access to the recording can view it from any device as often as they want. There are no view limits.
- Moderators have the option to customise the name of the recording to make it easy to identify. To rename a recording, locate Recordings in the Collaborate hamburger menu find the recording you want to edit and access the recording options to select Edit name. The recording name always begins with the session name which is a portion of the recording name that cannot be changed.
Where to find your recordings
Recordings become available on average between 20 minutes and one hour after the session recording is stopped. In busy times this may take longer.
1. Access the Bb Collaborate menu in your course.

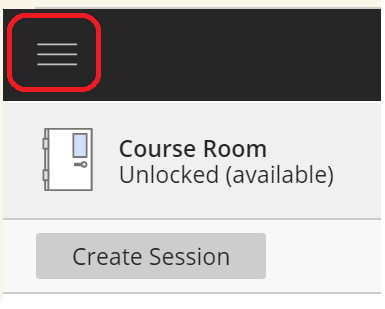
2. Select the Hamburger icon (three horizontal lines).
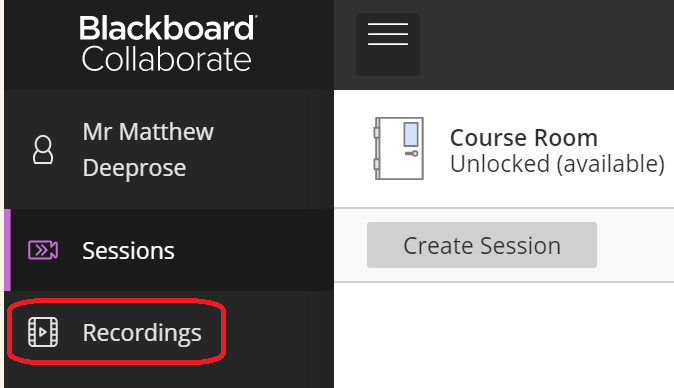
3. Select Recordings from the side menu.
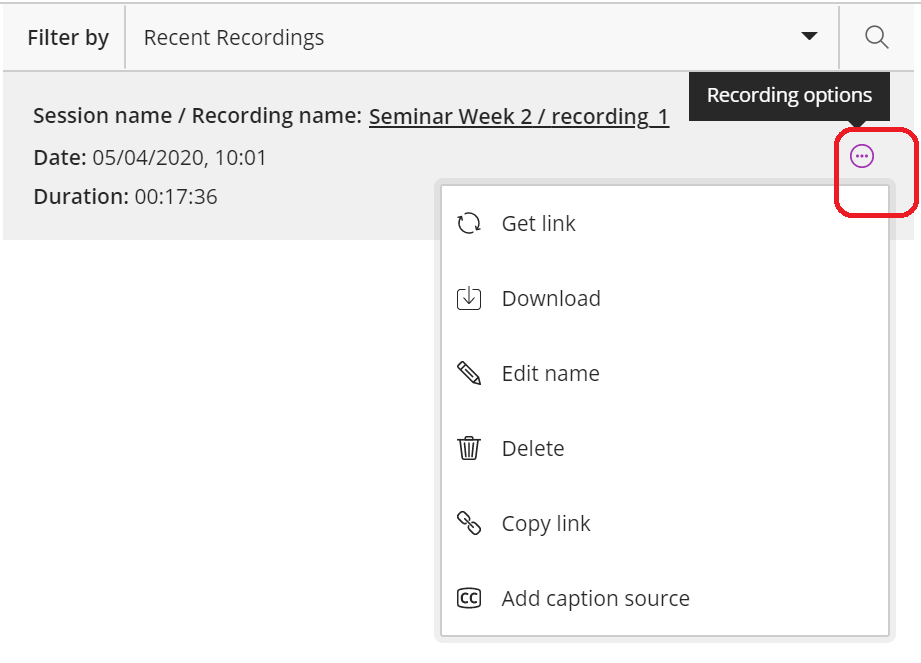
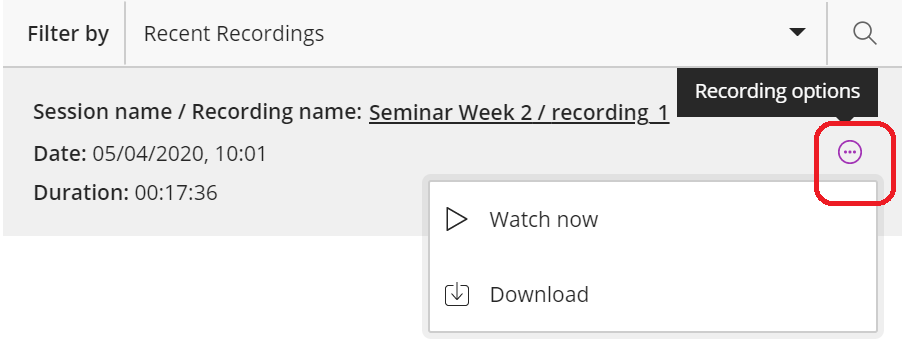
4. Any recordings will be shown. Select the ellipsis icon (three horizontal dots) for options such as playback and download (if enabled).
Downloading chat messages
1. Access the Bb Collaborate menu in your course.
2. Select the Hamburger icon (three horizontal lines).
3. Select Recordings from the side menu.
4. Any recordings will be shown. Select the ellipsis icon (three horizontal dots) select Watch Now.
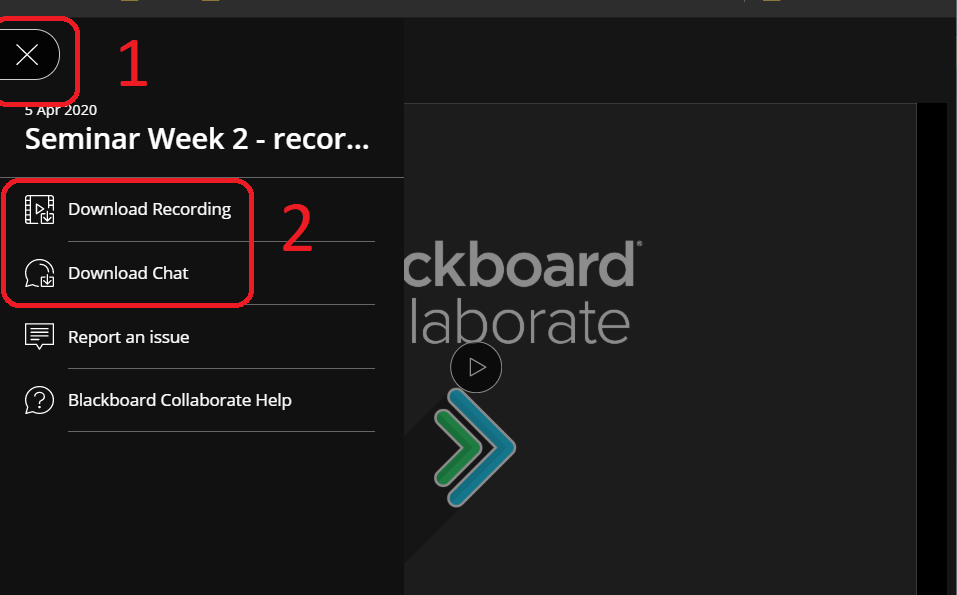
5. Open the session menu (on the top left) to download a chat transcript, which depending on the options you set when creating the session may have been anonymised.
Uploading a recording to Panopto
Once you have the video file on your computer, you may upload it to your course’s Panopto area by following this guide.
Deleting a recording
Follow these steps to delete a session recording.
Please note: We are unable to recover deleted recordings
1. Access the Bb Collaborate menu in your course.
2. Select the Hamburger icon (three horizontal lines).
3. Select Recordings from the side menu.
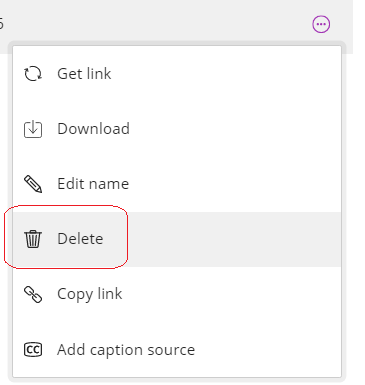
4. Any recordings will be shown. Select the ellipsis icon (three horizontal dots) for options such as playback and download (if enabled).
5. Only when you are 100% certain you wish to do so, choose to delete the recording. Once again, once done we cannot undo the deletion.