
Type of Blog
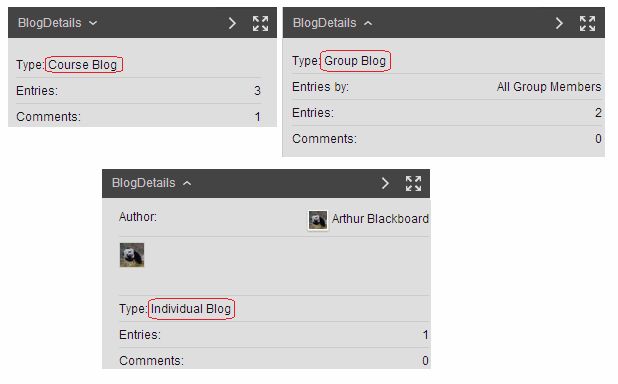
1. You can tell which type you are using by clicking on the Blog Details link in the box to the right of the blog posts.
Course Blog: Everyone can post and everyone can view entries
Group Blog: Only Group Members can post and everyone can view entries
Individual Blog: Each person has their own area of the blog and by default see their own entries. However every user also can view each other’s posts.
Who else has posted?
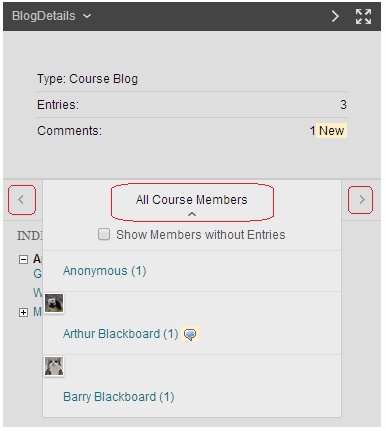
2. In the middle of the box you can see who else has made posts in the blog by clicking on the All Course Members box and click on their name to view their posts. You may also use the [<] and [>] arrow buttons to move between people’s posts.
Entries

3. The final section of the box shows a breakdown of entries per week or month depending on how it has been set up by the instructor.
Creating an entry
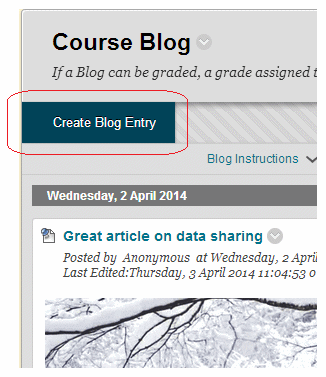
4. To create a blog entry click on Create Blog Entry.
Enter text
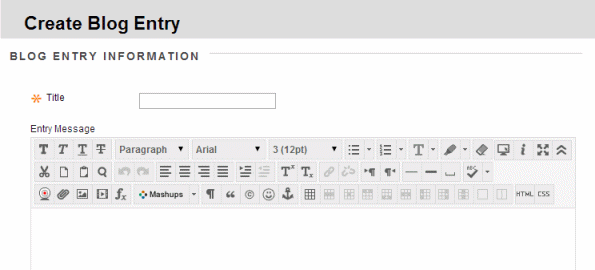
5. Enter a title and then fill in the larger text box with your entry. Note that if you plan on pasting text into the text box from Microsoft Word, make sure to use the Paste From Word feature described in step 7.1 of this guide.
Useful buttons

6. Some particularly useful buttons are:
1 – Spell Check
2 – Full Screen Editor
3 – Add attachment
4 – Add picture
5 – Add media
6 – Mashups (described in more detail in next slide)
7 – Insert Table
Mashed
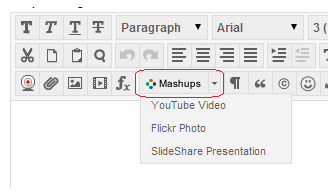
7. Some very useful features are hidden within the Add MashUp button:
1 – Embed a YouTube video
2 – Embed a Flickr Photo
3 – Embed a SlideShare Presentation
Anonymous?
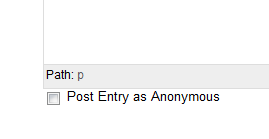
8. If permitted you may choose to make your post anonymously.
Attachments
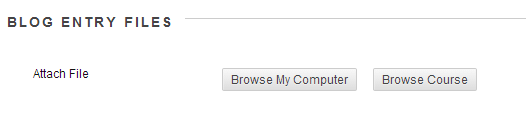
9. If you wish you can attach a file by using the Browse My Computer button.
Post-it

10. Click on Post Entry to finish.