
Individual Journals are journals where each course user has their own journal area that only they can post to. Only the student themselves and course instructors may view their posts and add comments.
Adding Journal

1. You can add Journals in a number of ways. In this guide we will start by adding the journal into a course content area. From any content area hover over the Tools button and choose Journals.
Create New Journals
2. Click on Create New Journal.
Name and Instructions
3. Enter a Name and any instructions. For instructions you may wish to inform your students they each will have their own individual journal, and that unless you (the instructor) choose otherwise in the subsequent options no other students will be able to read their journal or add comments to it.
Available?
4. For students to be able to access the journal, Journal Availability must be set to Yes.
5. If you wish you may place date and time limitations on when this journal will be available to students.
Preferences
6. Set the journal settings according to your preference:
Index Entries: Choose for entries to be indexed in a monthly or weekly format.
Allow Users to…: Choose whether you wish users to be able to edit and delete their entries and / or comments
Permit Course Users to View Journal: If this option is selected then all students will be able to read each other’s journals. This option could be useful if you would like to open up the journals at a later date so students can see how their peers dealt with their journals.
Grade Centre
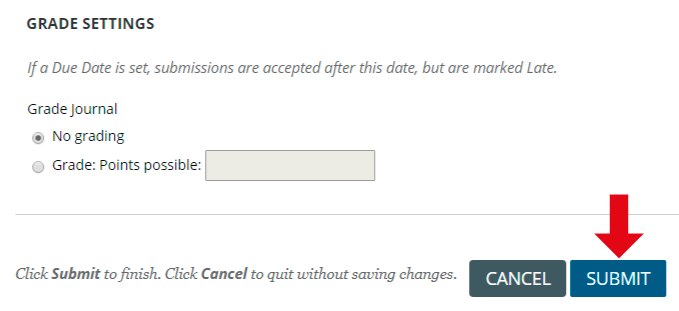
7. If you wish to add a Grade Centre column for the journal choose to Grade Journal and set the maximum number of points possible to score for the work on the journal.
8. Click on Submit to finish.
The Adventures of Link
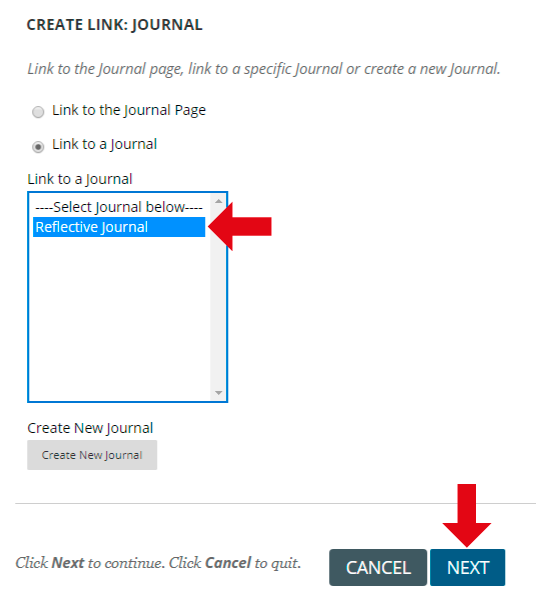
9. The journal you created should now be in the Link to a Journal box. Click on Next.
Contextual Info
10. This final stage is to complete creating the link to the journal. Set the options as you wish. It is wise to add some contextual information in the Text box.
Success

11. The journal has been created. To access it click on the link. If you wish to go back and change the options go through Control Panel -> Course Tools -> Journals, and click on the modify button beside the journal you wish to change.