You may upload files from an Excel file into Blackboard.
| Uploading marks from Perception? Follow this guide. |
In order for Blackboard to know what column of your Grade Centre the marks are related to, you must create the appropriate column in the Grade Centre first. Then you can download an excel file from Blackboard which will add special codes to each column. Having inputted the marks you can then re-upload that file into Blackboard, because it has the special codes it will be able to match the column in the excel file with the relevant column in the Grade Centre.
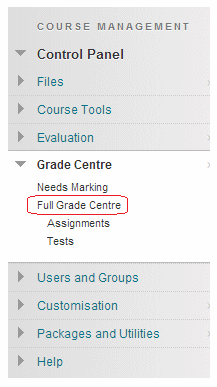
- Enter the Grade Centre.
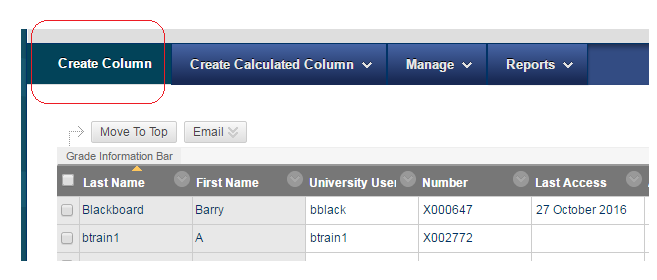
2. Create a column in the Grade Centre for the topic/assessment to which the marks are related.
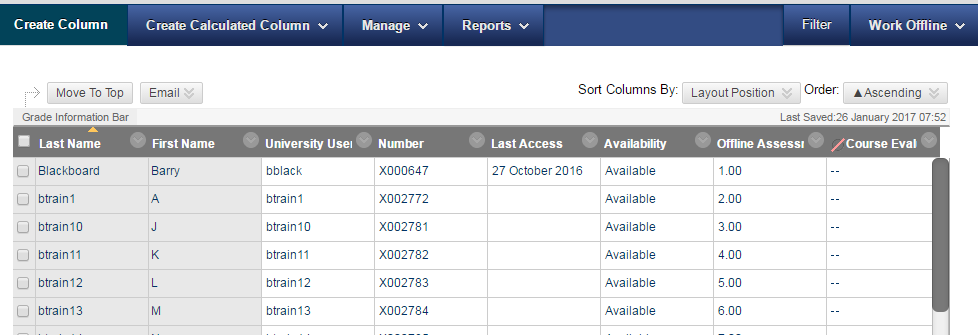
3. In this example we have called it “Offline Assessment”.
4. Hover over the Work Offline button and choose Download.

5. Leave the options at the default settings and click on Submit.
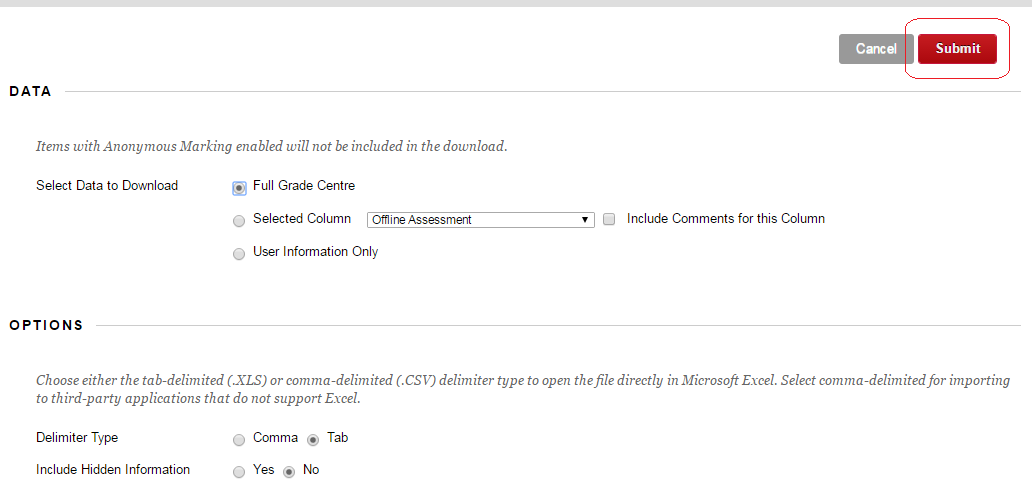
Note: if you have difficulty opening the excel file, you can change the delimiter type to Comma to receive a CSV file instead.
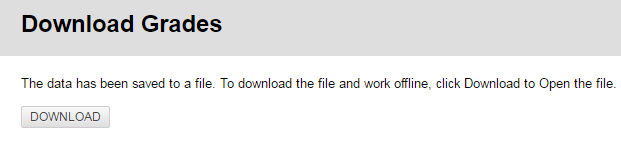
6. Click on Download and open the file in Excel.
7. If you receive this message click on Yes.

Note: if you have difficulty opening the excel file, you can change the delimiter type to Comma in step 5 above to receive a CSV file instead.
8. In Excel enter/paste the marks. Ensure they are entered as numerical values, not formulas.
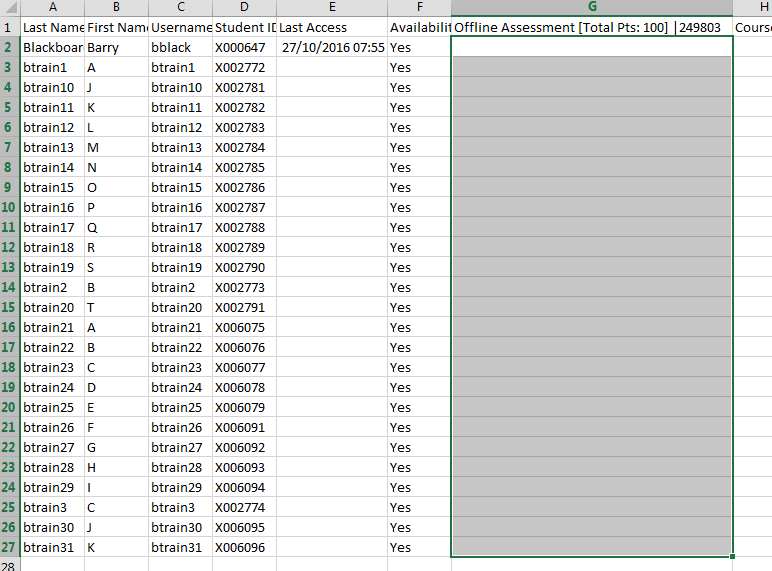
9. Save your Excel file as a CSV file.

10. Close Excel.
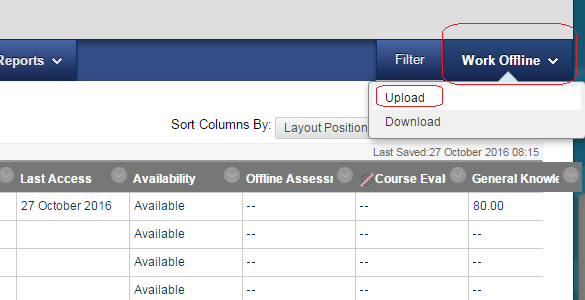
11. In the Grade Centre hover over the Work Offline button and choose Upload.
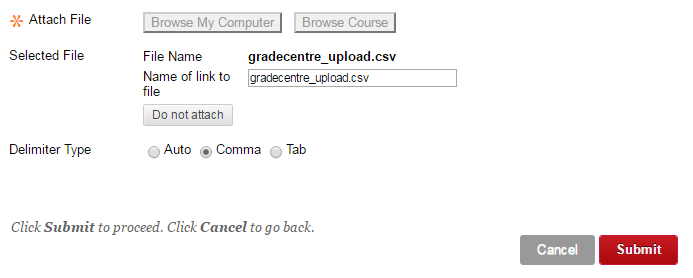
12. Browse for your saved CSV file, select comma as delimiter type and click Submit.
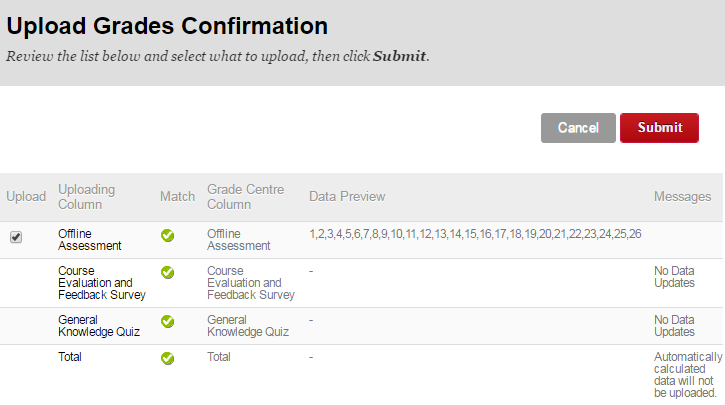
13. You will be given a preview of the data that will be uploaded, click Submit to confirm.
14. The marks will appear in the column in the Grade Centre.