A “self enrol group” is a Blackboard group into which students may enrol themselves.
Note that because Blackboard only shows a group listing to members of that group, once the membership list is full the group is not visible to non-members. In the eyes of non members it “disappears”.
Users and Groups
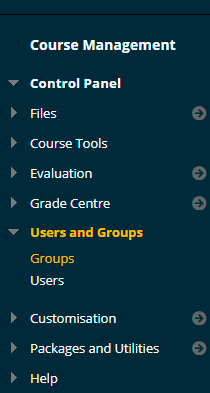
1. From your course Control Panel expand the Users and Groups section and click on Groups.
Self-Enrol
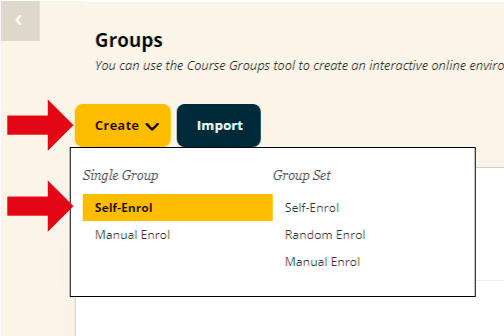
2. Hover your mouse over Create and choose Self-Enrol from the Single Group section.
Details
3. Enter a Name for the group.
4. Enter a Description for the group.
5. If you wish for students to access the group, make sure ‘Group is visible to students’ is set to Yes. If you only wish to use the group for your own purposes such as Adaptive Release or to email groups of students then do not make the group available in this way.
Sign-Up Sheet Only means that the students can sign up to join the group, but none of the group functionality will be made available to them and they will not be able to go into their “group area”. They will not be able to see who else is in the group even if you have enabled this option below. Therefore in most circumstances it is better not to use this option and instead make the group available / visible.
Tools
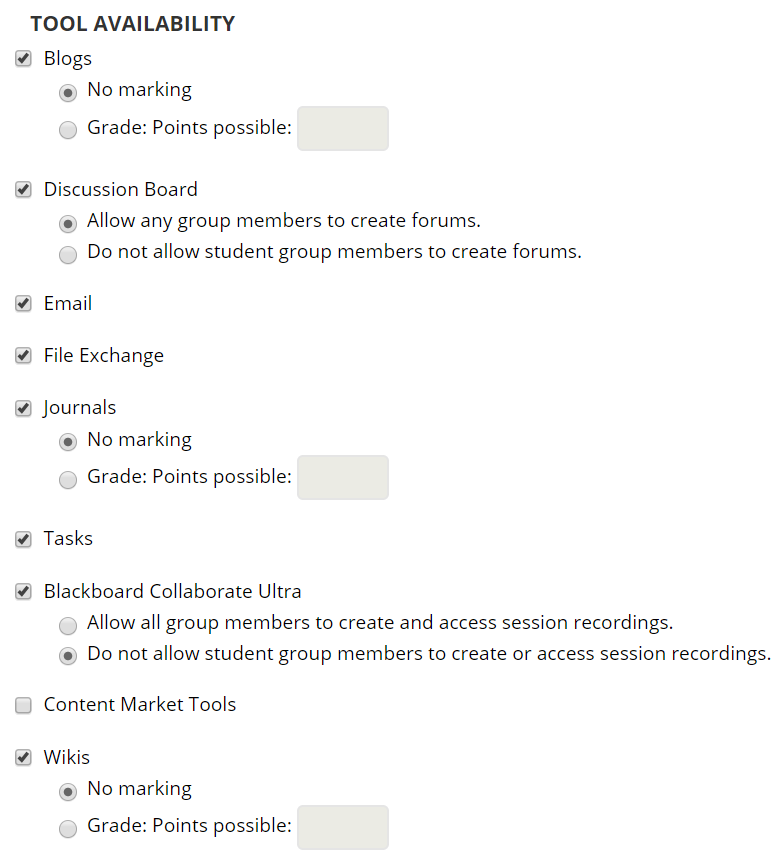
6. Choose which tools should be made available for the group to use.
Note: Content Market Tools, and Academic Materials refer to publisher integrations set up for a small number of courses and should usually be left un-ticked.
Allow Personalisation?
7. If you wish to allow the members of the group a small degree of freedom to personalise their group space, select Allow Personalisation.
Sign Up Instructions
8. Enter the name of the sign up sheet and also some instructions.
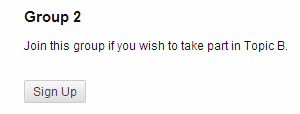
When students sign up to join a group they will first see the group in the groups area, provided you have made a link to it in your course menu or added a link to the groups area in a content area. They will then see a button labelled “Sign Up”. They are then shown the Sign up sheet name and instructions, as well as who else is in the group (if you have allowed this below) and how many members are allowed in the group. They can then click on Sign Up again to confirm they wish to join the group.
It is important to put meaningful information that students will understand when setting up self-enrol groups.
Once the group is full, its existence will only be shown to members of the group. Non-members will not see the group or know that it exists in your course.
Options
9. Set the following options according to your preference.
Maximum Number of Members
Set the maximum number of users who may be members of this group.
Show Members
If you would like to let users see who else is in the group before they join tick this box.
Allow Students to sign up from the Groups listing page
If you want students to be able to sign up at any time from the Groups area tick this box. However if you want to restrict the availability of when students can sign up do not tick this box. You would then need to add a link to this group from a content area. This can be done from any content area by going to Add Interactive Tool and then choosing Group.
Smart View
10. If you wish to have a smart view for the group shown in the Grade Centre tick this box.
11. Click Submit to finish.
Groups
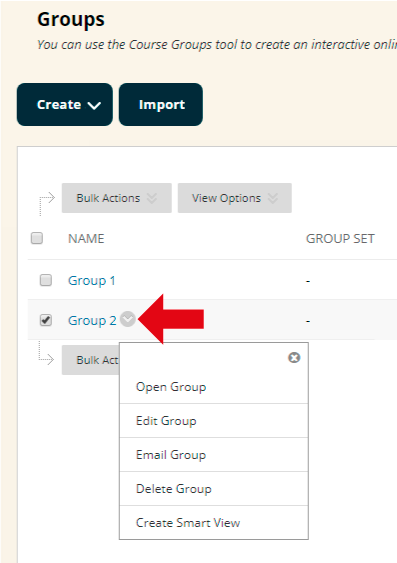
12. The group has now been set up. Clicking on the Modify button allows you to:
Open
Clicking Open will take you into the Group’s area.
Edit
Allows you to go back and Edit the group settings.
Email
Allows you to send an email to members of the group.
Delete
Allows you to delete the group and all related files.
Create Smart View
Allows you to create a Grade Centre Smart View for this group.
13. You may wish to add a group section to your course menu to make it easy for you and your students to find the groups area. Instructions on how to do this can be found in our online guide.
When students sign up for a group the page will look like this: