
Using Microsoft (MS) Teams in conjunction with your Blackboard course will allow you to set up interactive video conference sessions with your students. The following guide will show you how to create a Teams group and get your students enrolled ready to use the meeting functions of Teams.
Quick links:
Add via a link
Add individuals
Setting up
You can request a Team is set up for a group of students ServiceLine ticket. The Office 365 support team will set up a Class Team and add students via module or programme codes. You can also set up a Team yourself following the instructions below:
In order to set up an MS Teams group to work alongside your Blackboard course, ideally have the MS Teams application installed on your computer as the application has more functionalities than the browser version. The following page will help you how to install Teams and other help, if there is an issue please contact ServiceLine@soton.ac.uk.
The following steps have been based on the downloadable Teams application.
First load up Teams on your device. Once it has loaded choose the Teams icon from the left-hand toolbar.

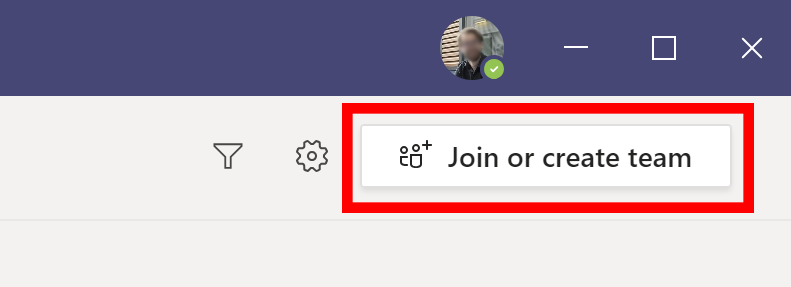
This will show you an overview of all of your Teams. In the top right corner of this area click on the button that says ‘Join or create team’. If you cannot see this in the top right of your view it will be at the bottom left under the same name.
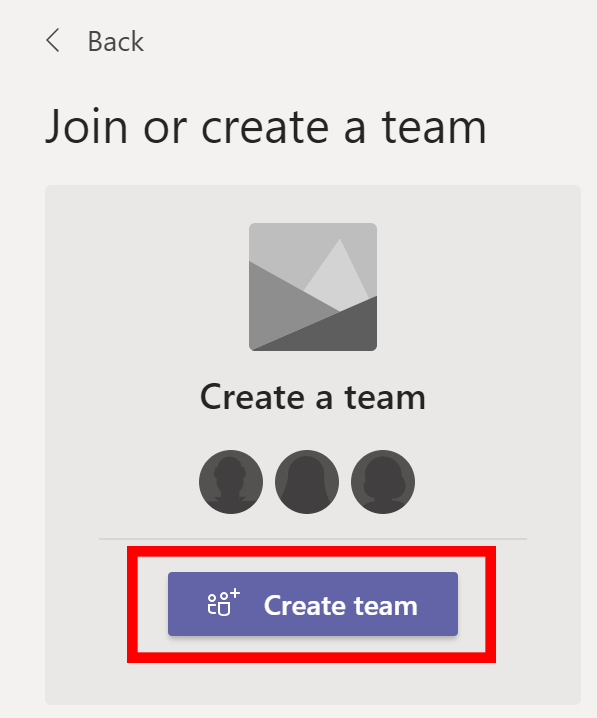
It will now show you a grid view of different Teams you have permission to join. The first choice will look different and say ‘Join or create a team’, from here click on the ‘Create team’ button.
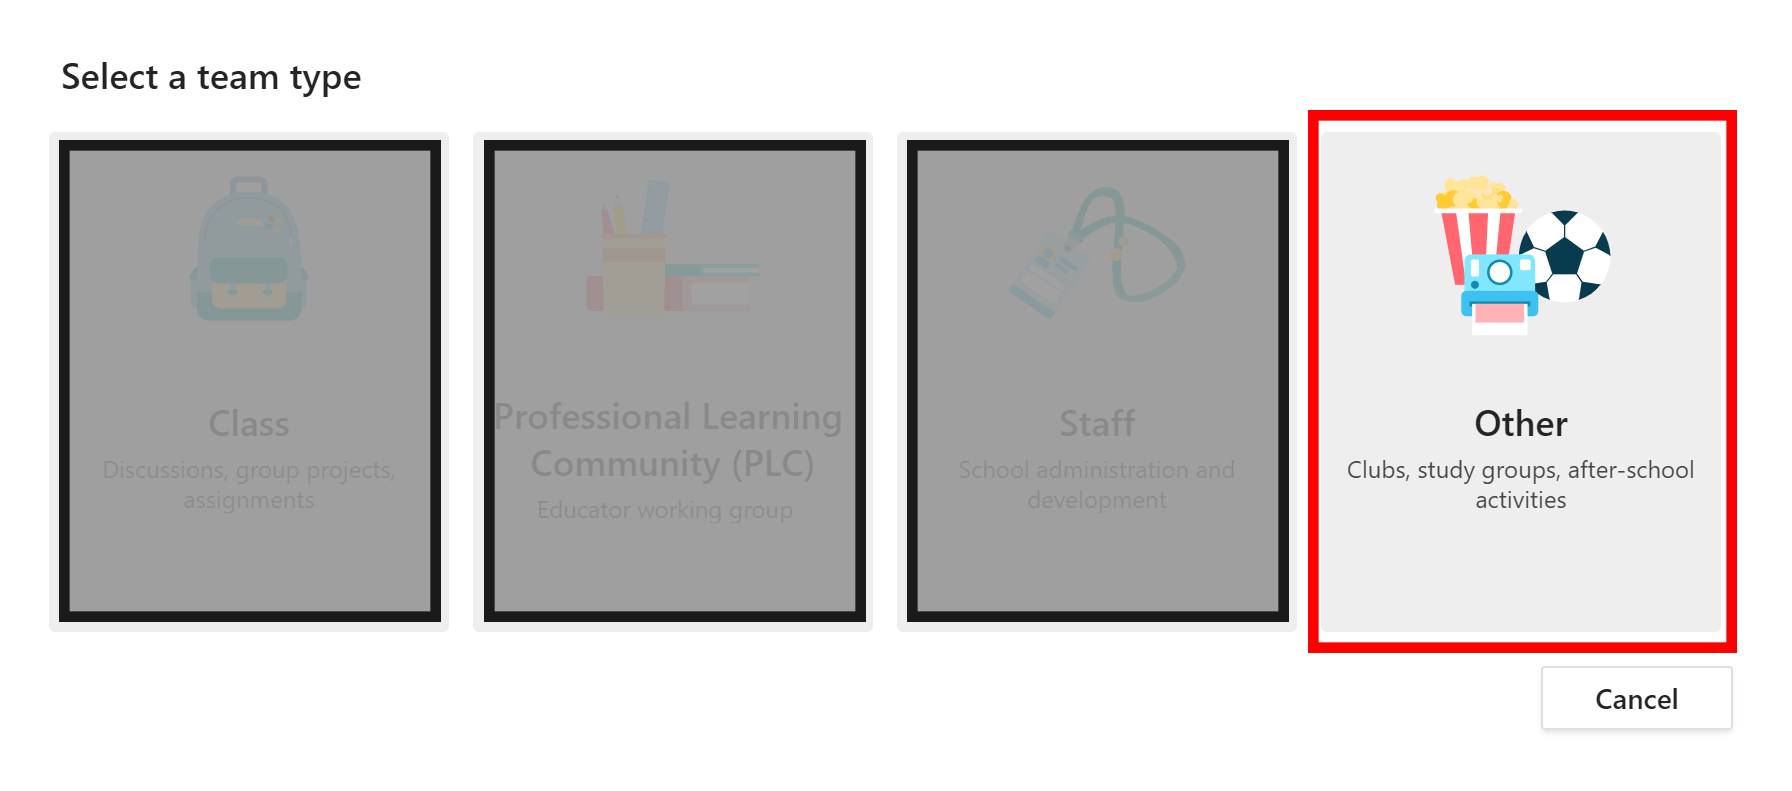
It will ask you to select the type of team you wish to make. Please ignore all other choices and only select the ‘Other’ team option.
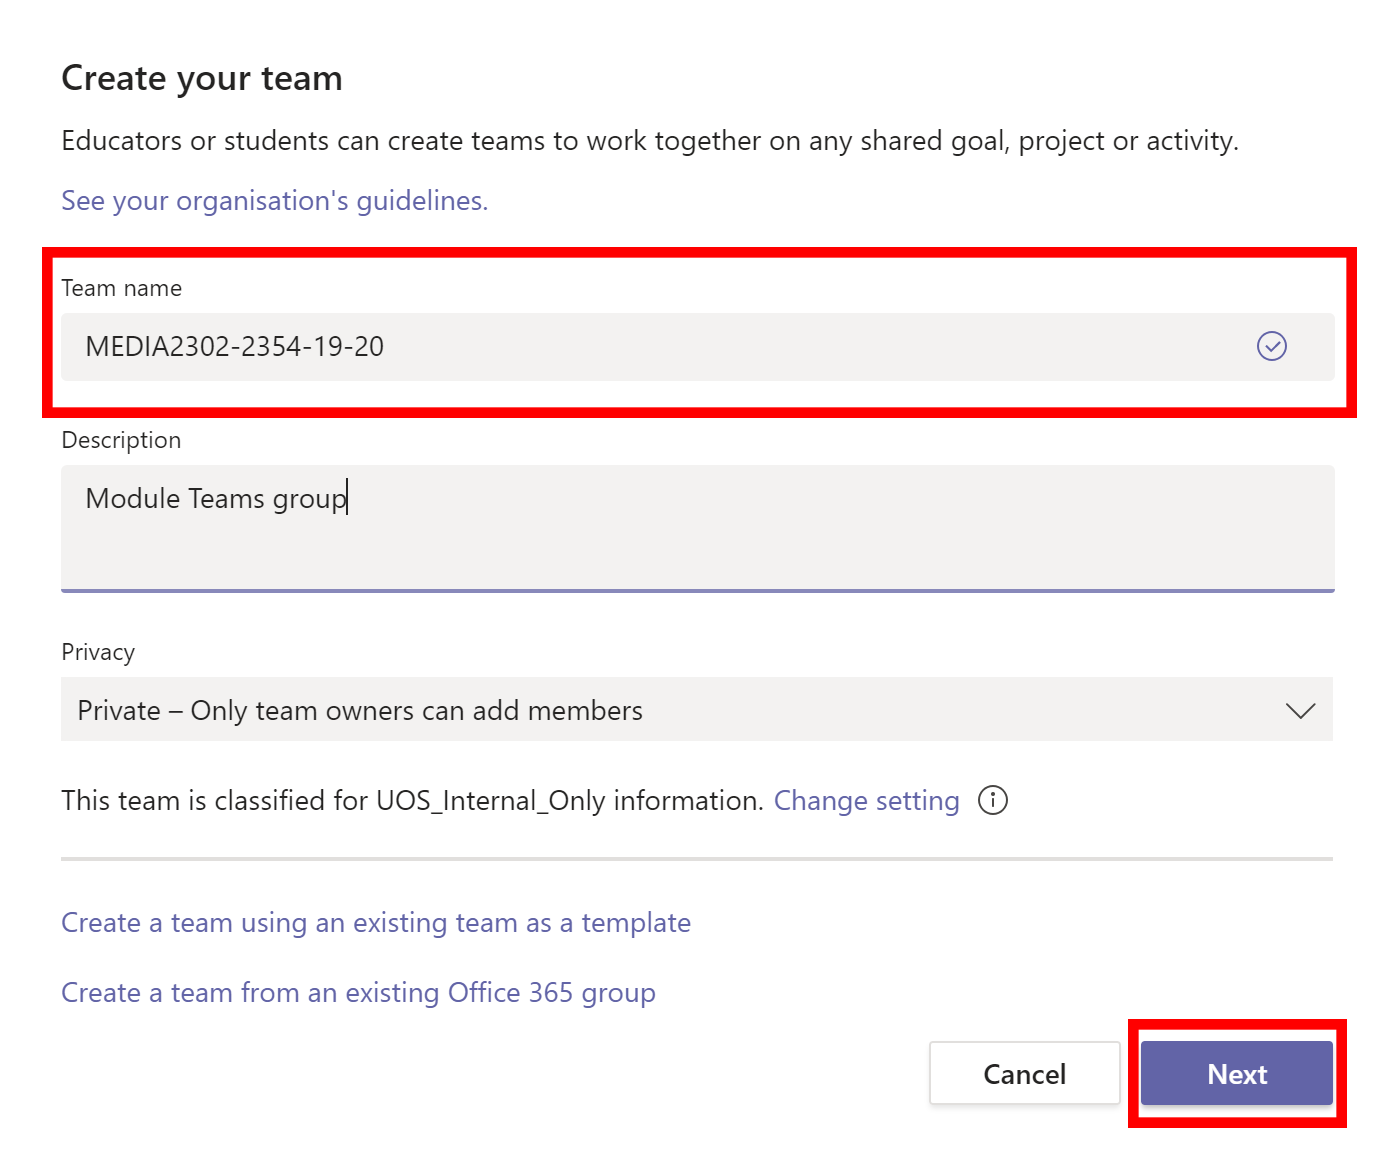
If will then ask you to enter some details to create your team. For ‘Team name’ use your course’s full module code and the academic year. The description is optional, but will be something all students will be able to see and can be used to help further identify it. All other options can be left alone as default. When you are happy click on the ‘Next’ button.
It will then give you the option at this stage to ‘Add members’, it may be best to click ‘Skip’ this part and read further on to add specific people. But you may wish to add any colleagues who need access at this stage by typing out their name and clicking on ‘Add’.

Your team will now be created and ready for use.

Adding Staff and Students
The final stage of setting up is to add staff and students to be able to access the Teams group.
Add via a link
For adding students it is best to set up an access code for the Teams group, staff can also be added this way if needs be.
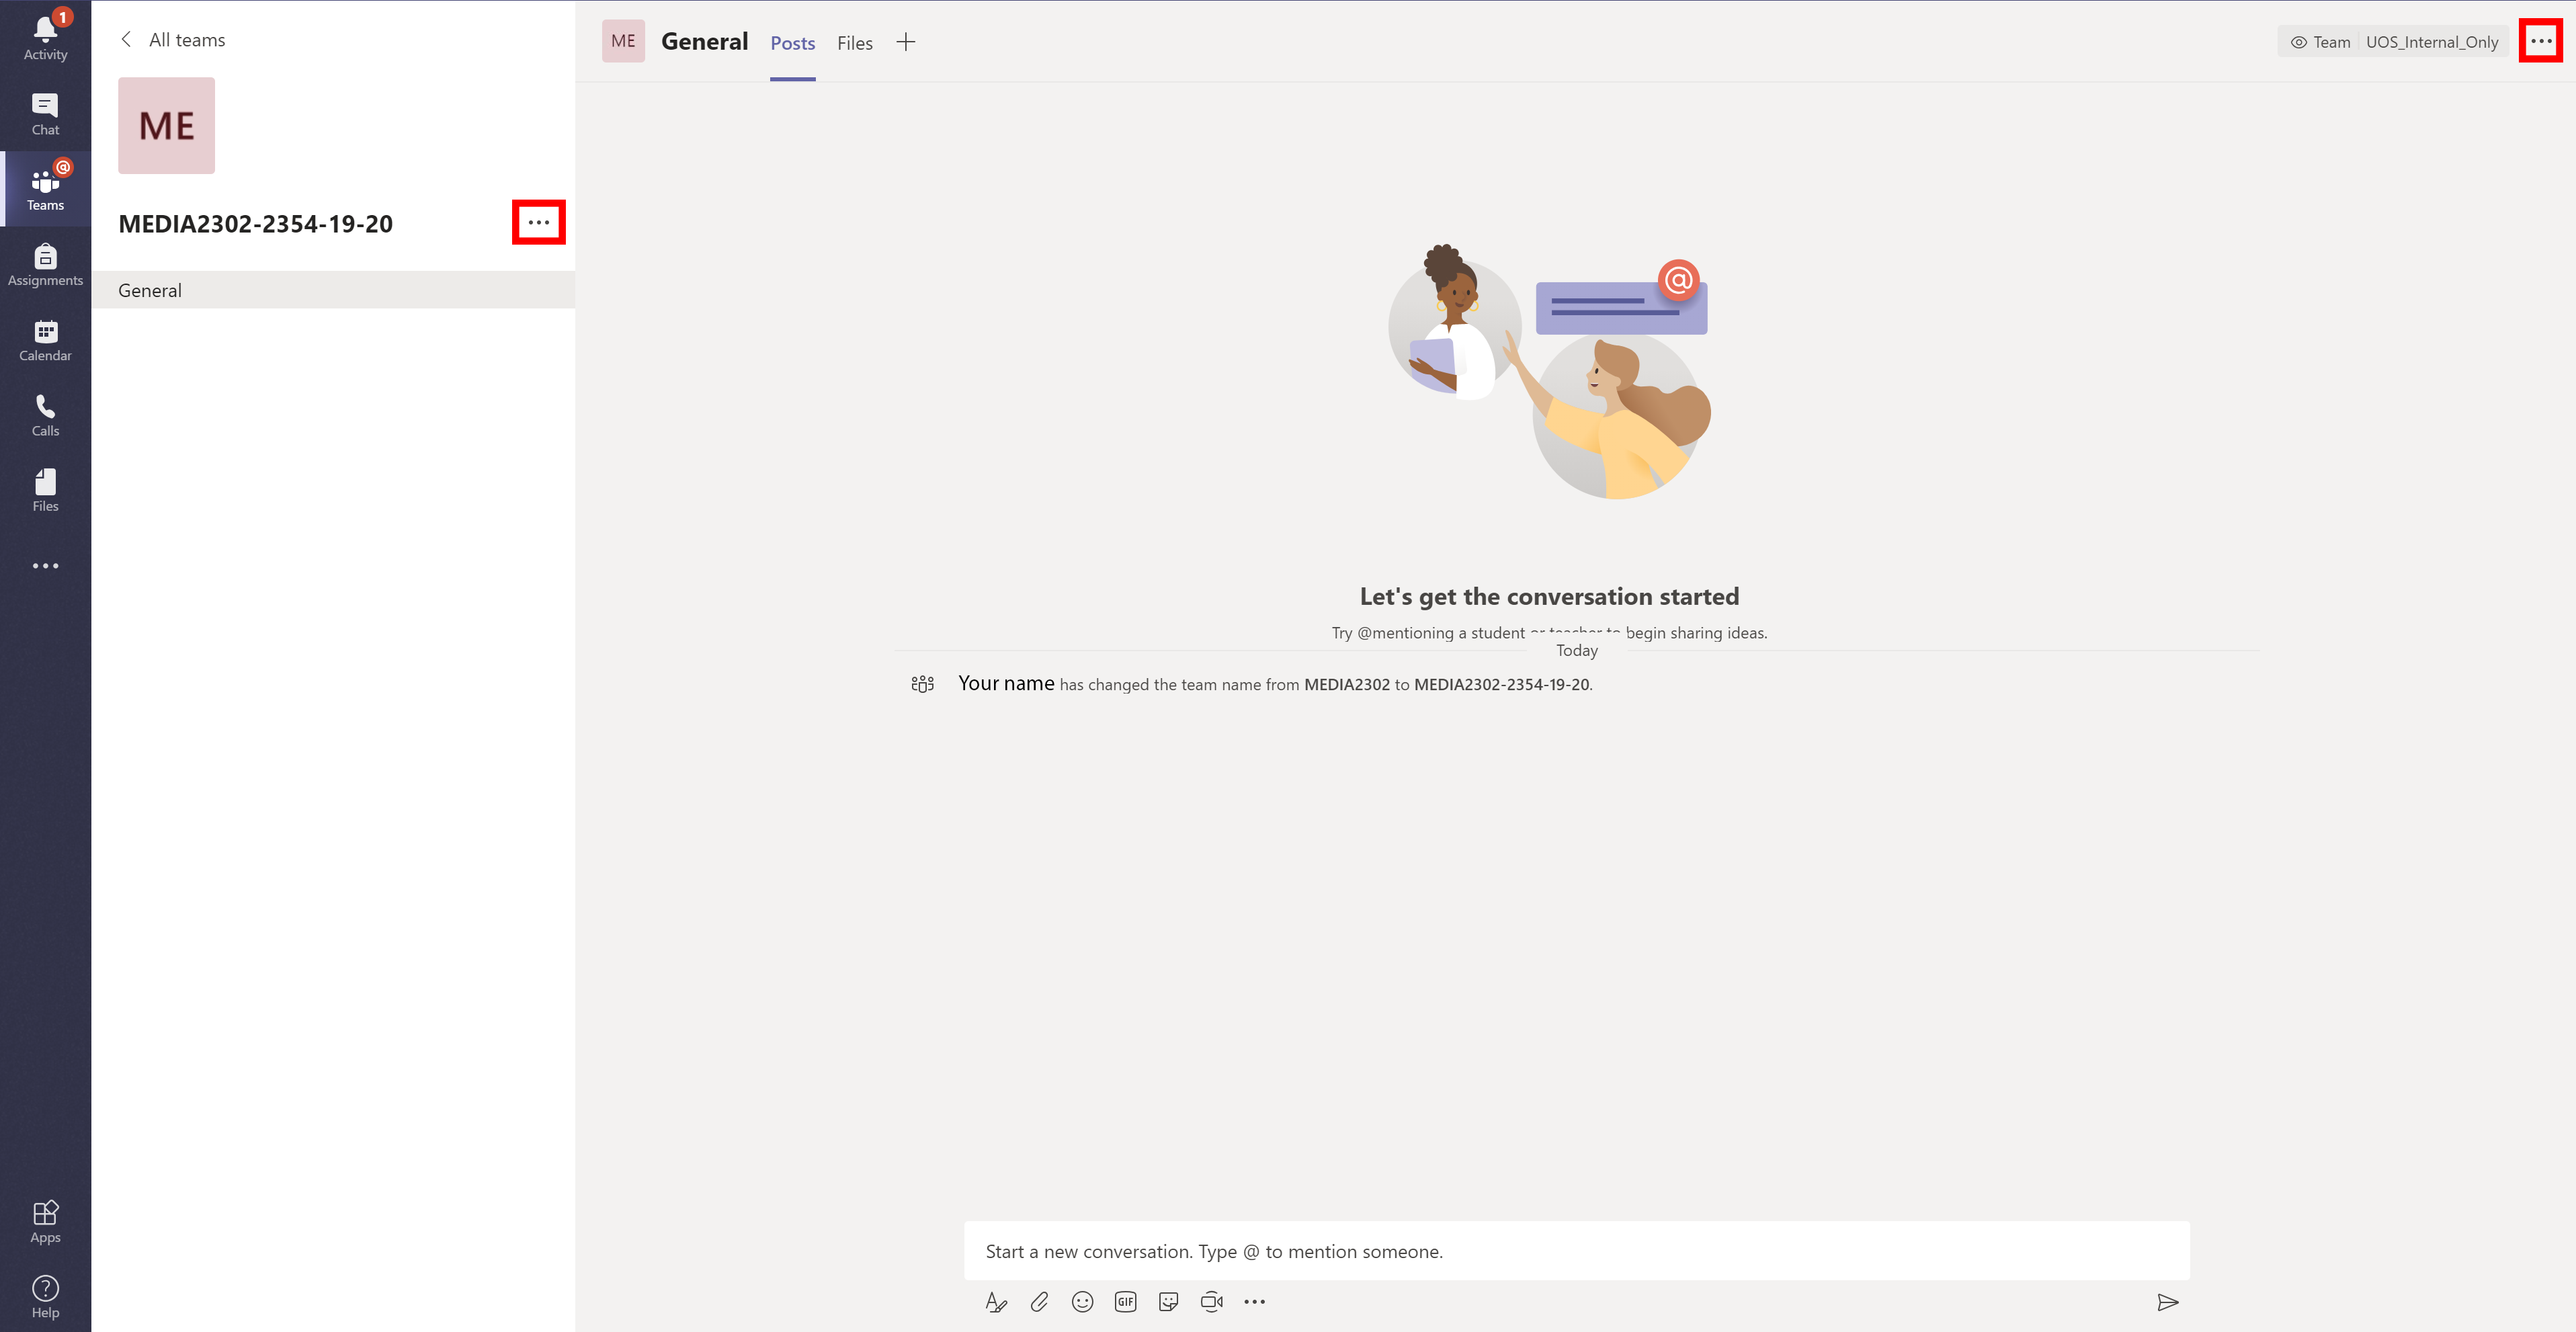
To set up an access code click on one the ‘…’ menu button option next to the team name or in the top right.
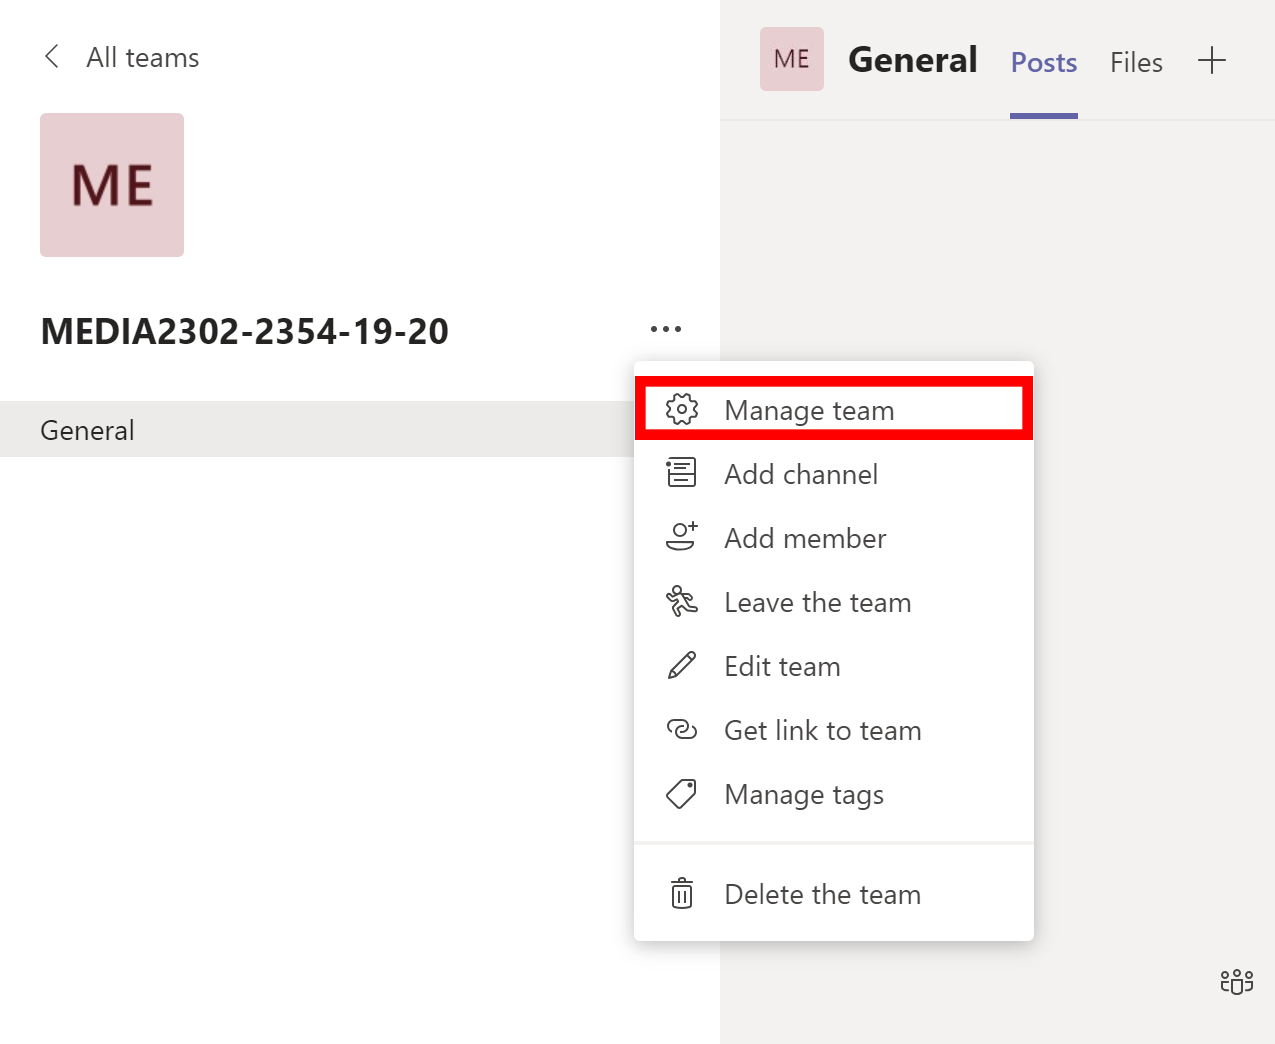
From the menu select ‘Manage team’.
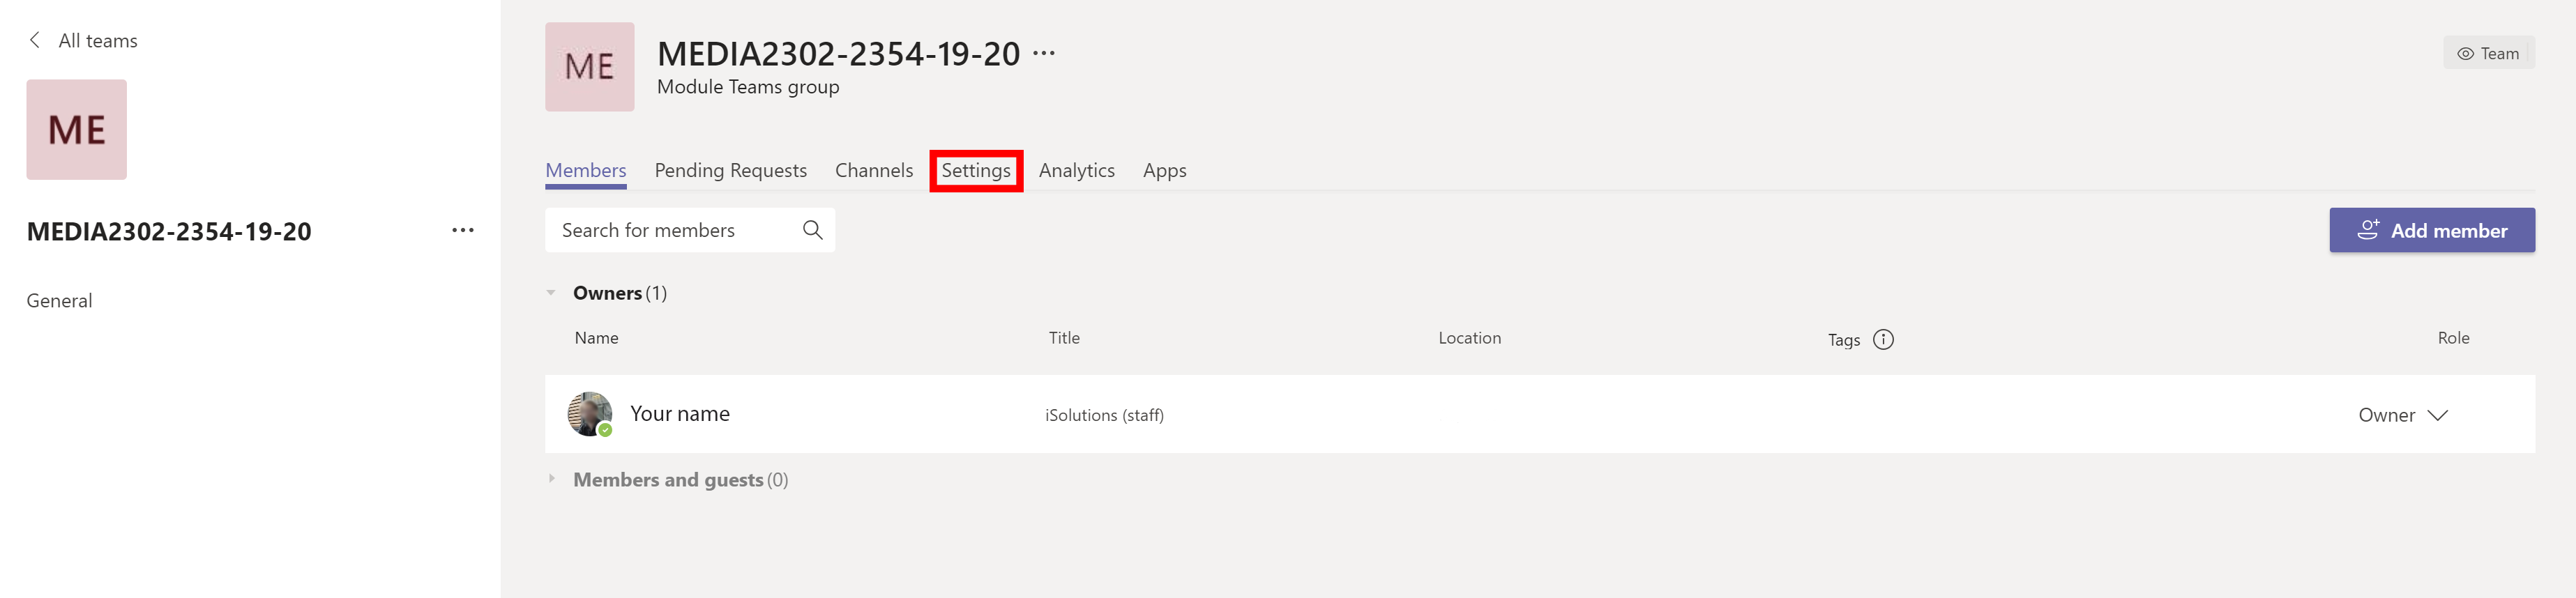
It will show a new menu area on the rows of menu options click on ‘Settings’.
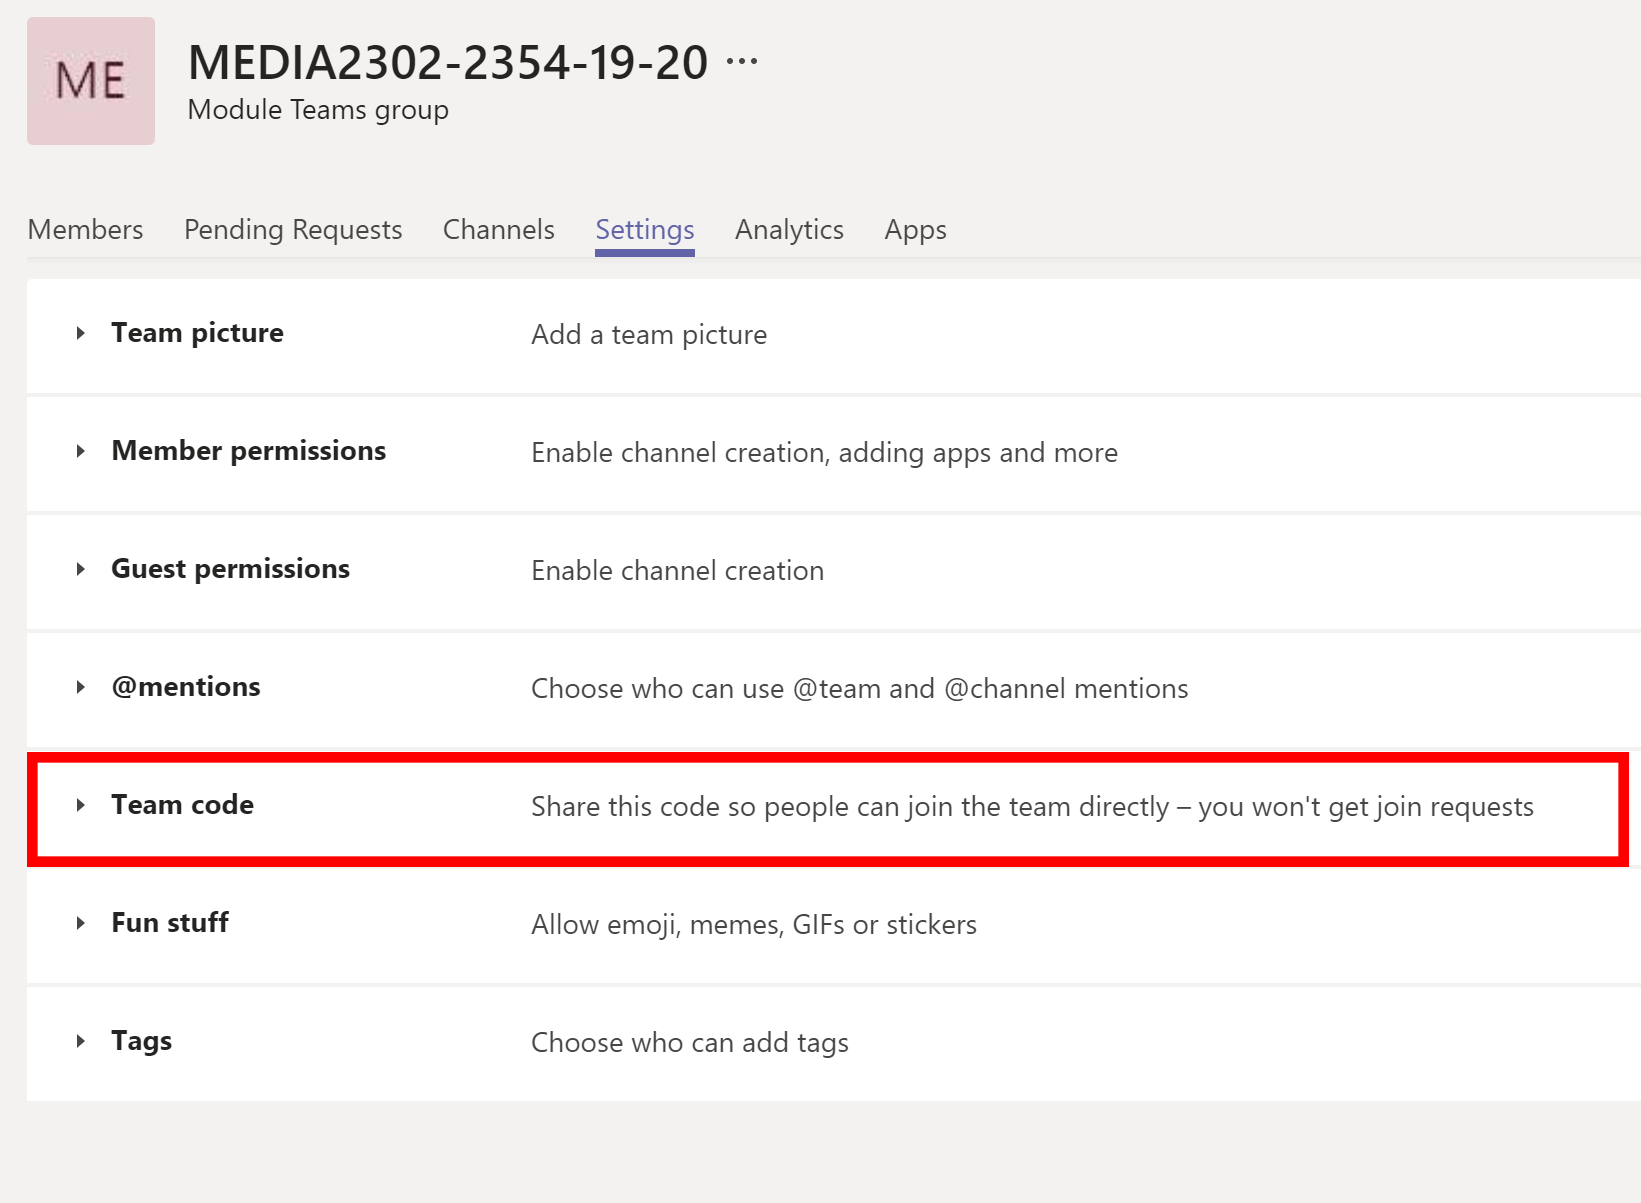
On settings page click on the menu choice of ‘Team code’.
It will now show another button where you need to click the button on ‘Generate’.

It will now show you a short randomised code, click on the ‘Copy’ button to then be able to post it elsewhere. Please note: You may see some potential homoglyphs generated such as o0O, to avoid confusion may need to click the ‘Reset’ button to generate a new code that may be easier to use.

The code can now be either emailed out to staff and students or added to your Blackboard course as an announcement or content item.
The following page allows you to copy the above text so you can use it in your own course.
This guide can be used to send to your students on how to join.
Add specific people
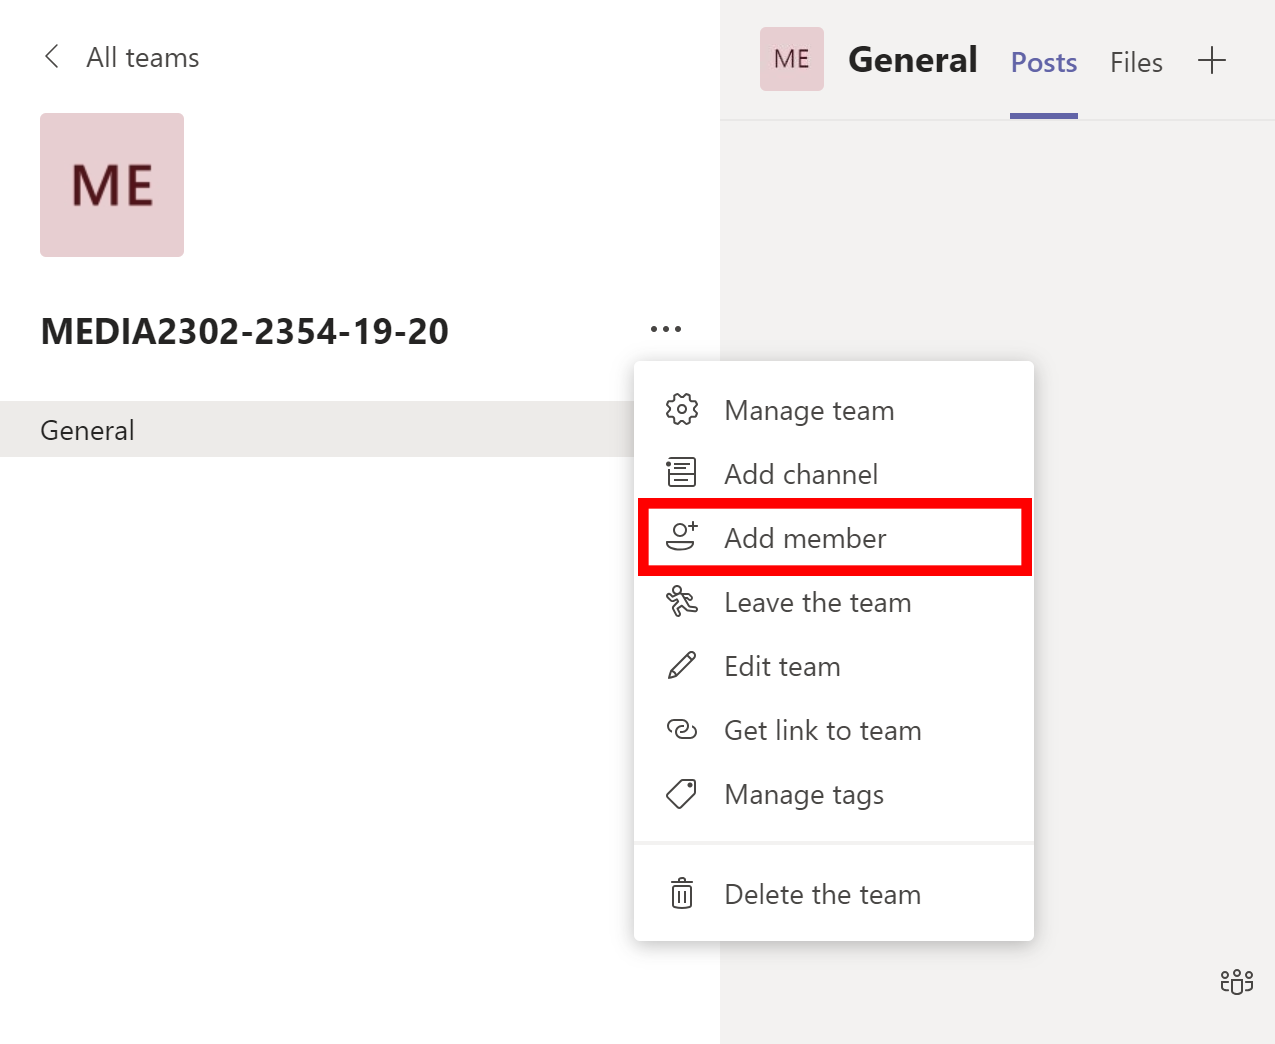
To specifically add people such as Staff this can be done by one again going to the … menu and selecting ‘Add member’.
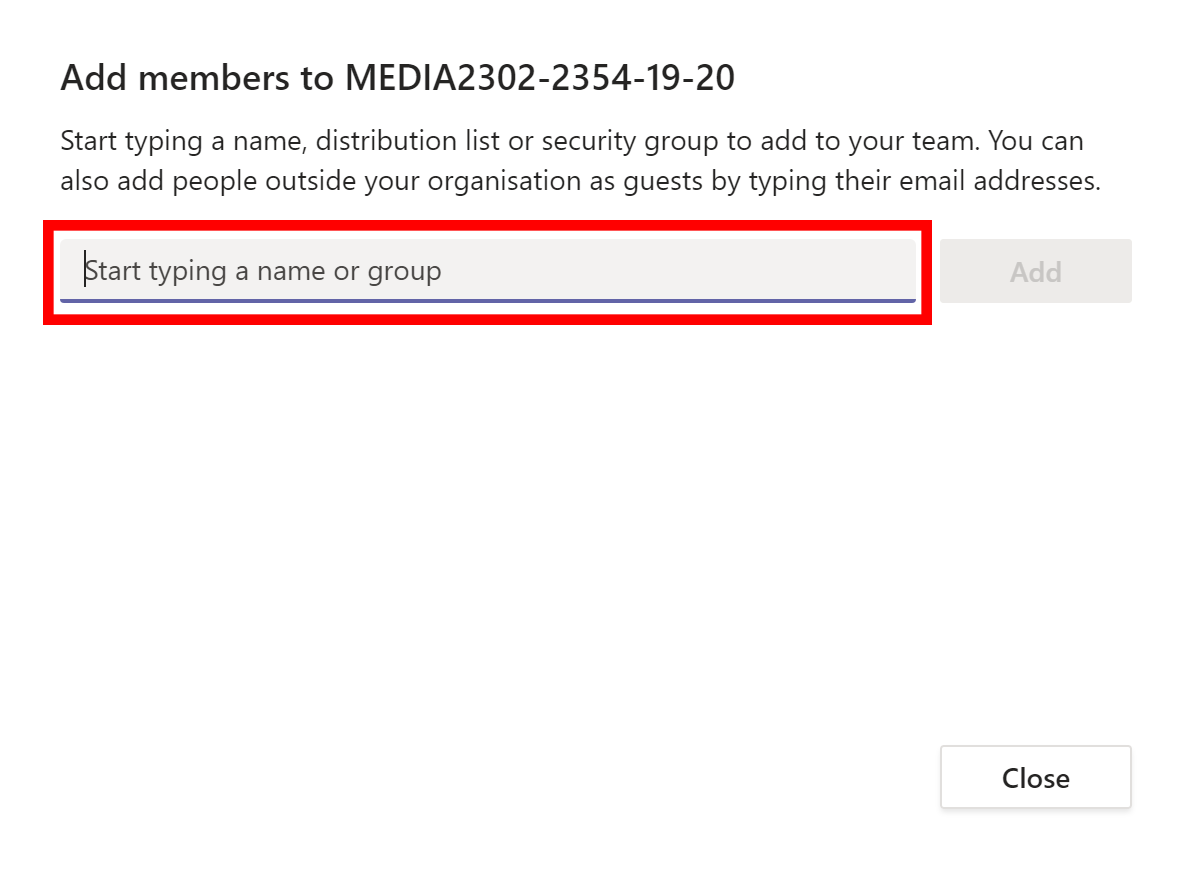
On the window select the text box field start typing the name or username of the people you wish to add. A list will show of the people with a matching name, click on the appropriate name.
When happy you have all of the names you wish to add click on the ‘Add’ button.
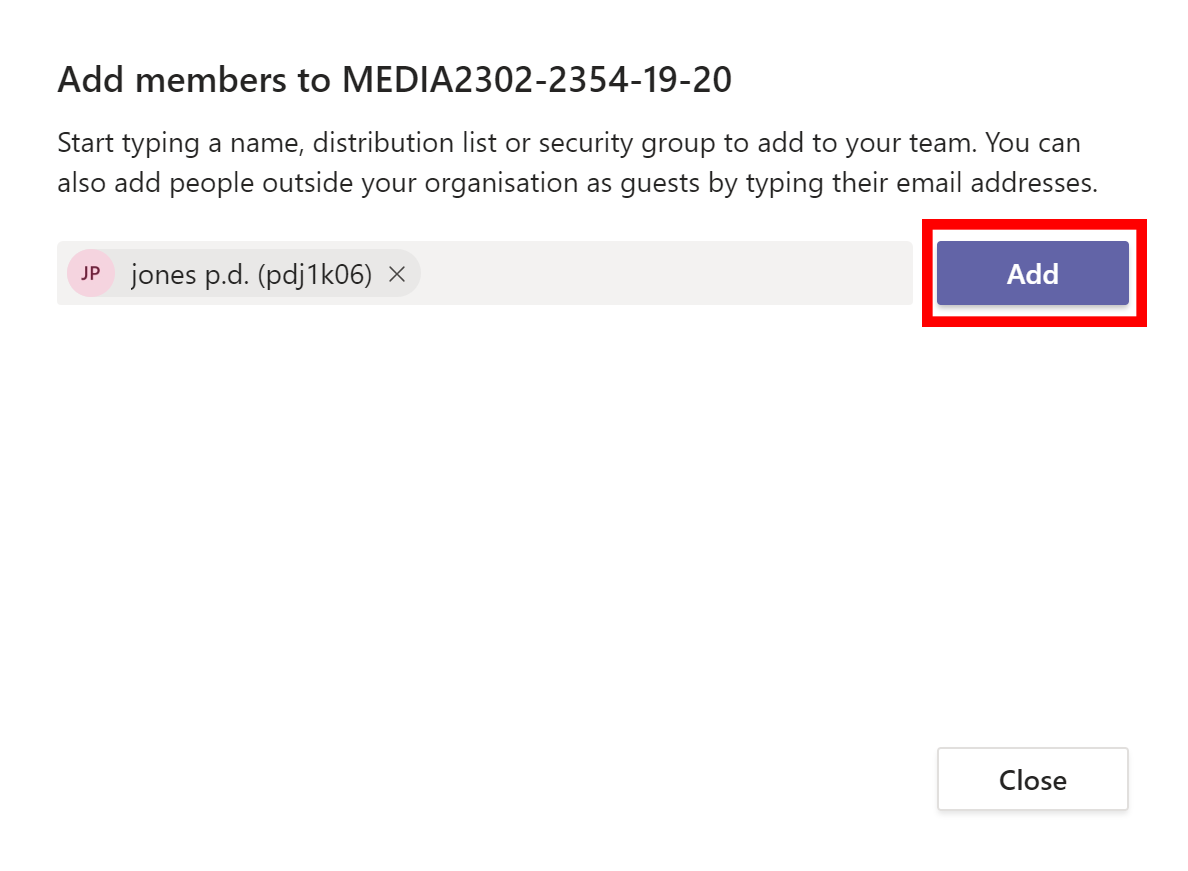
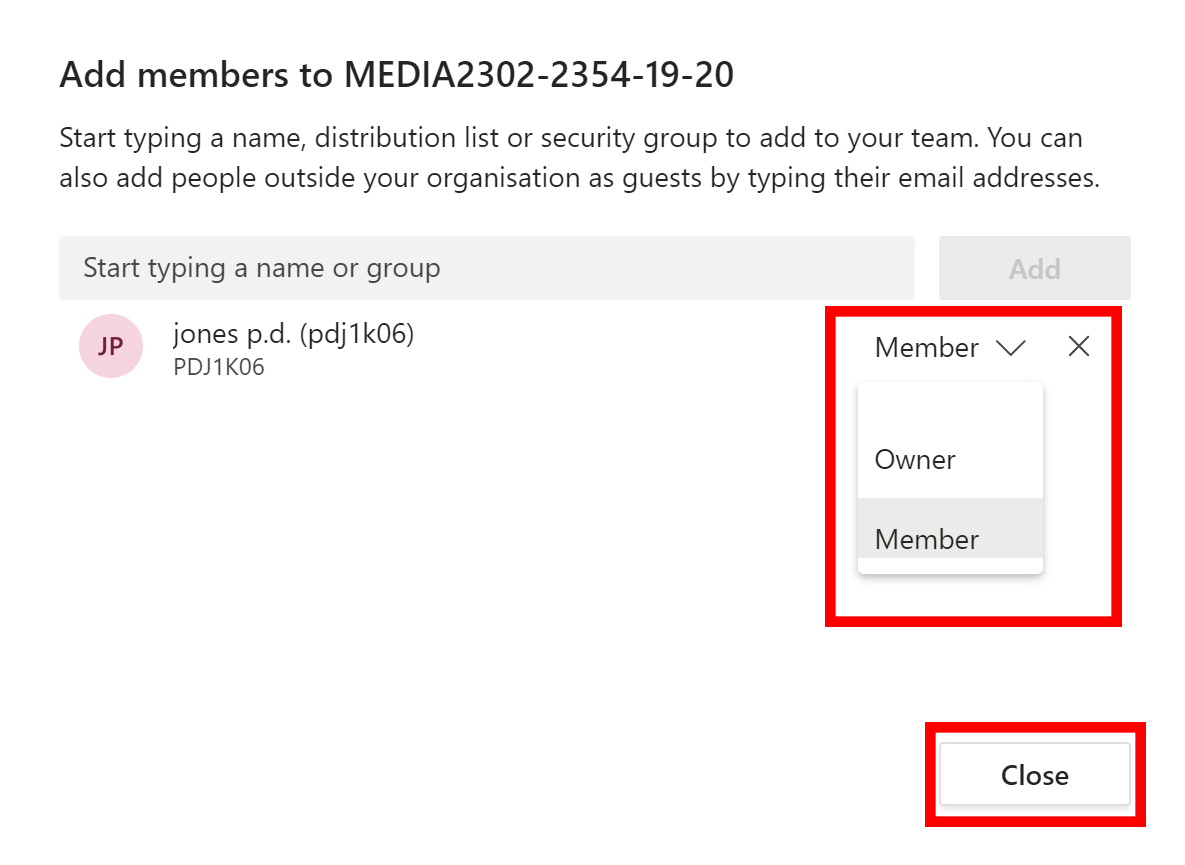
After clicking add the names will show in a list. At this point you can do the following:
- Pressing the X will remove the person from being added.
- Clicking on the down arrow will allow access rights to be changed. Students should be left as ‘Member’, but you may wish to change staff to be ‘Owner’ giving them the same admin rights as you. (This can be changed later).
Once happy click on the ‘Close’ button to close the window, access will automatically be granted and an email will be sent out to the invited people.
Everything is now set up and ready to be used, the link to the team that was used to allow students to join in can also be used as a quick access link. Clicking on the link will cause the teams application to load and open directly into the teams group.