
You may put students into groups using Comma Separated Files. In order to do this the groups themselves must already have been setup in Blackboard.
Group Code
1. To assign users to groups you need to know the Group Code used by Blackboard for each group. To find out the Group Code for a group do the following.
2. From your course Control Panel expand the Users and Groups section and click on Groups.
Show Group Code
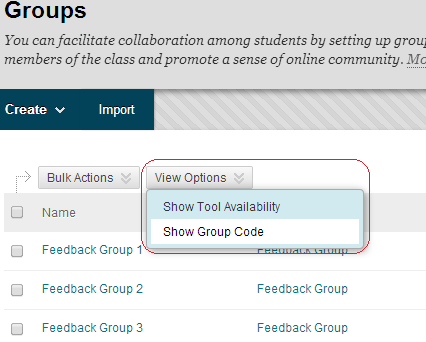
3. Hover your mouse pointer over View Options and choose Show Group Code. If the group code is blank, then you may need to Export a group first. This will then ensure that the Group Code is generated and displayed. For details on how to export a group, read the guide “Exporting Groups and Group Membership Lists” under “What’s Related” to the right.
If you don’t see a group code
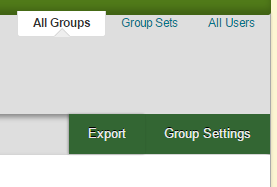
Note that in the current version of Blackboard a bug prevents us from seeing the group codes if we have not already tried exporting the groups.
If you do not see the group codes click on Export.
If you don’t see a group code (2)
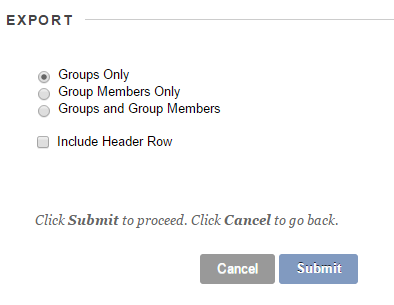
Then click on Submit. You can ignore the email you will be sent. Doing this will mean that you can see the group codes.
Group Code
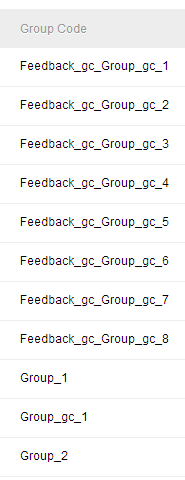
4. The group code used internally by Blackboard for each group will be shown in the far right column of the table.
Comma Separated File
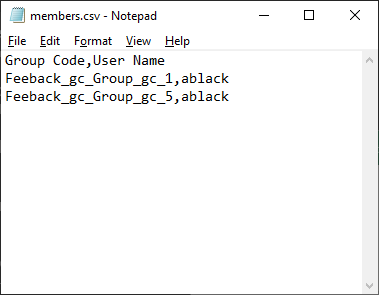
5. Build your CSV file using a program such as Excel or Notepad.
6. The headings required are: Group Code and User name.
Group Code
The internal system name to be used for the group. See step 1 in these instructions.
This field is required.
User Name
The University Username of the person you wish to add to the group. They must be enrolled on your Blackboard course.
This field is required.
7. Save your file as a .csv file. An example of how it might look is shown in the screenshot above.
Blackboard’s own help pages on this topic include some sample CSV files.
Users and Groups
8. From your course Control Panel expand the Users and Groups section and click on Groups.
Import
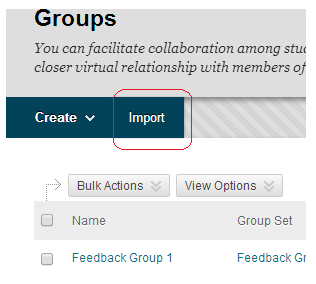
5. Click on Import.
Import Group Members
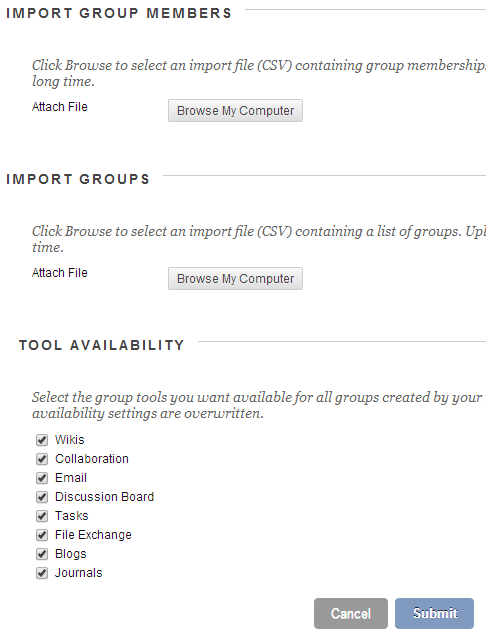
9. Under the heading Import Group Members click on Browse My Computer then navigate to and select your CSV file.
7. Tick the tools you wish to be made available for all groups within your CSV file.
8. Click on Submit. You will receive an email when your membership list has been processed.