
A Course Banner can be used to personalise the design of your Blackboard course. You can create your own or use a free web based Banner creator such as those which can be found on Google.
Control Panel
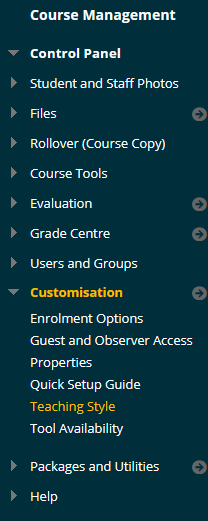
1. From your course Control Panel expand the Customisation section and choose Style.
Course Design Menu
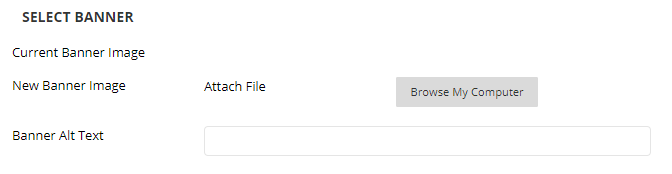
2. Scroll down to Section 5 “Select Banner” and click on Browse My Computer and select your Course Banner file in JPG, GIF, or PNG format.
Add some Alternate text that describes what someone who cannot see the image should know about it.
3. Click on Submit.
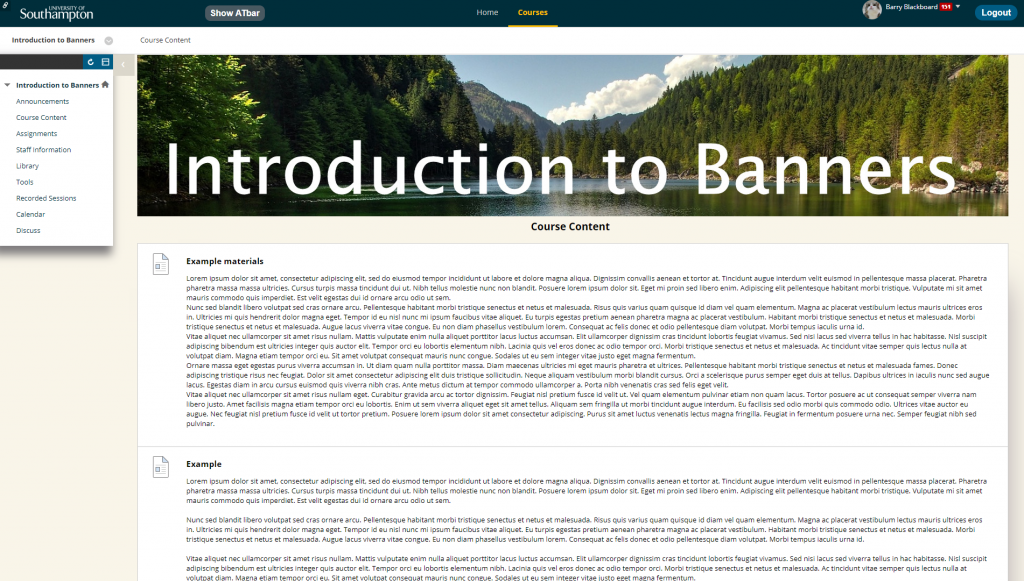
4. Your course banner will appear above the Announcements page. If you have chosen a different course entry point to Announcements the Banner will appear at the top of your chosen entry point page.
Banner Dimensions
We recommend choosing a Banner size of 1618 x 300 with 72 DPI (dots/pixels per inch).
On a standard 1080p display the banner will look like this:
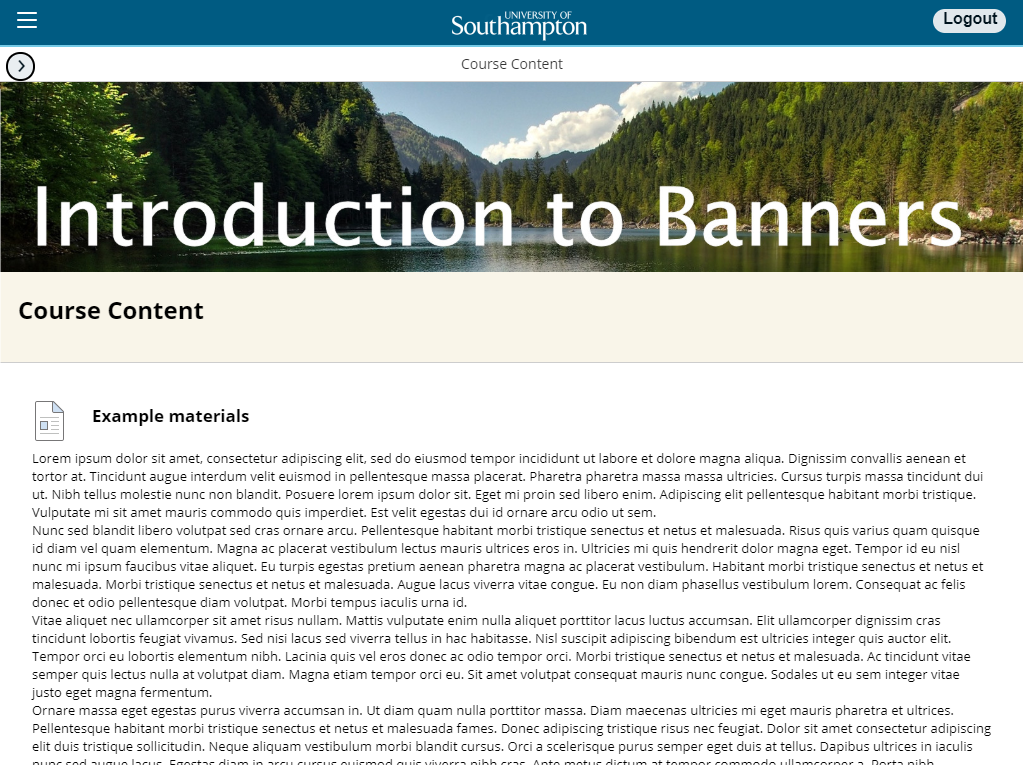
Blackboard is responsive, so the Banner will be resized on your device.
Here is the course on an ipad in landscape orientation:
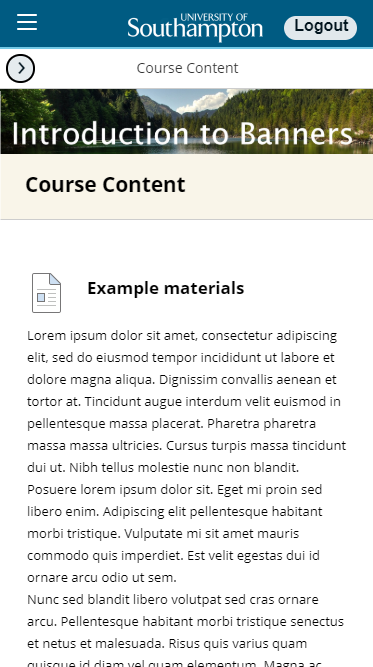
Here it is on an iphone in portait orientation:
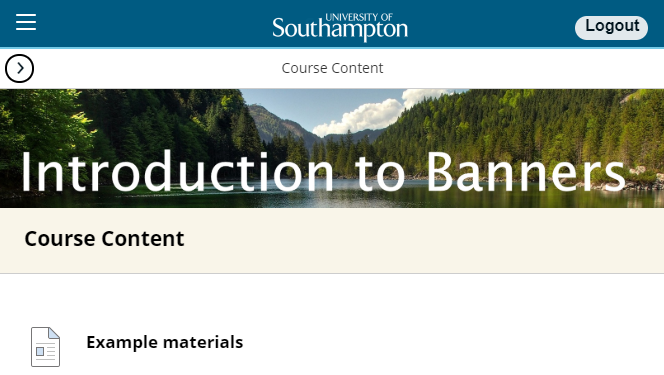
And here is is on an iphone in landscape orientation:
Please note that course banners do not appear when using the Blackboard mobile apps.