
Return to Blackboard Collaborate For Staff Main Page ↵
| Blackboard Collaborate has a 250 attendee limit. If you wish to use Blackboard Collaborate with more than 250 attendees view our guide. |
First Time Audio and Video Check
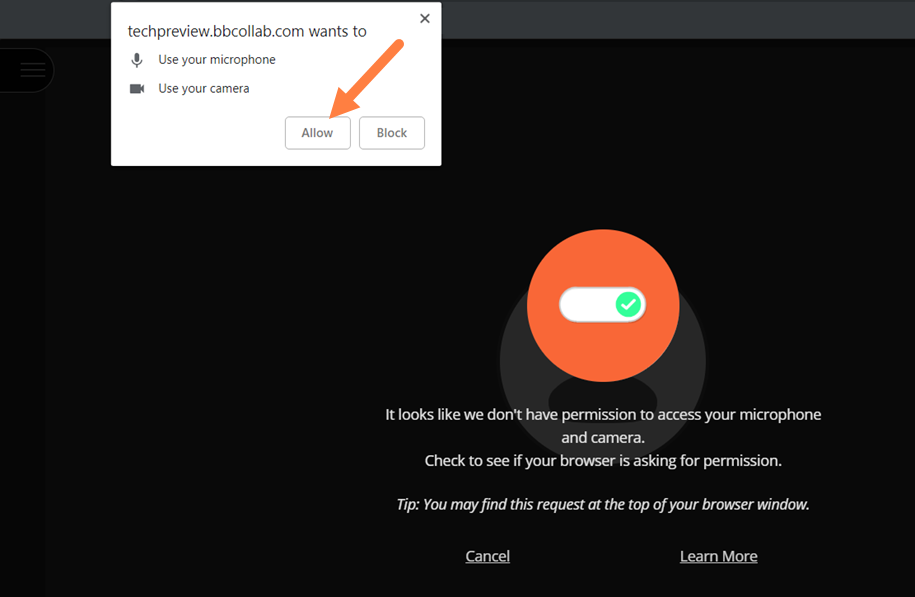
When you go to use Blackboard Collaborate for the first time you must give the browser permission to use audio and video to participate in a session. Once permissions are set, you can test whether your microphone and webcam are working. You will not be prompted to do this again unless you clear cookies and cache in the browser, use a different web browser or another device for the first time.
You can always access the audio and video check again from the ‘My Settings‘ panel.
Should you need to review/change your browser permissions again you can do so by clicking on the padlock icon in the search bar.

Audio and Video Test
Collaborate will first test your audio, from here you should select the desired input device from the drop- down menu. Then say something into the selected microphone. If you see the audio bar moving when you speak, then select ‘Yes – It’s working‘ to continue through o the next check. Selecting ‘No – I need help‘ will take you to Blackboard Help for more information.
For the video test, select the desired input device from the drop-down list. Don’t worry, no one else can see you here. If you see yourself, then selecting ‘Yes – it’s working‘ will complete the technical check process. Again, selecting ‘No – I need help‘ will automatically redirect you to Blackboard Help for more assistance.
Once the check is complete, users receive guidance prompts on the Interaction Bar icons, letting them know when they have everything set up right and are ready to start speaking. User must close the prompts in order for the dialogue box to disappear.
First Time Tutorials
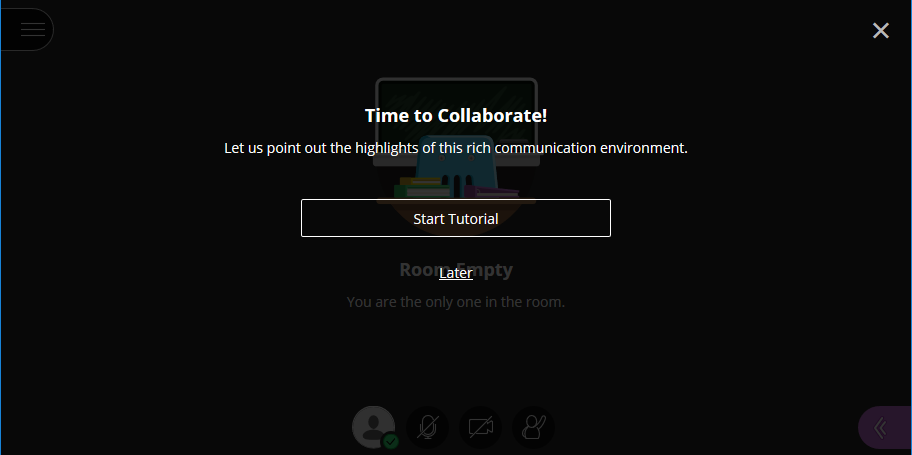
Tutorials are available when entering a Collaborate session, that walks attendees through any new features or changes made during a software update. Attendees can navigate through the tour or close the dialog box and immediately start the session.
My Settings panel
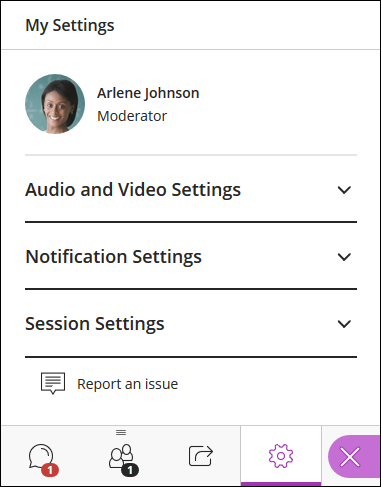
The ‘My Settings’ panel is the place where users can upload a profile image, change both audio and video settings, modify notification settings, and report an issue. Moderators can also manage session settings.
Your Profile Picture
The profile picture a user uploads will display throughout the interface. Once uploaded, the profile picture is stored as part of your browser cache and will be displayed in subsequent sessions automatically unless you clear your cache. Just as with your Audio and Video setup, if you are using Chrome’s incognito mode, you will have to upload a profile picture every time you join a session.
Audio and Video Settings
The Audio and Video Settings are available to all users. It’s from this area that attendees can set, or reset, their input devices. Users access this option from the My Settings panel by expanding the Audio and Video Settings. Click Set Up your Camera and Microphone in order to perform a new audio/video check.
If the moderator has assigned captioner rights to a session attendee, the Enable Closed Captions checkbox will be active and you can select it to view captions as they are entered.
Notification Settings
Notifications are system messages sent by Blackboard Collaborate web conferencing to notify users when certain important events occur within the session. Visual notifications are presented in a floating window.
The Someone enters or leaves the room settings by default displays a visual notification for all users on the entry and exit activities of session attendees. Audio notification can be enabled or disabled for this notification option.
Default settings display audio and visual notification anytime Someone posts a chat message.
When a moderator assigns an attendee captioner rights, Live Closed Captioning becomes available within the session and Collaborate notifies attendees with the option to use the captioning if desired.
Notification options for Someone raises their hand are only available to session moderators. These users may opt to receive audio and/or visual notification when users use this feature. By default, both notification options are selected.
To enable or disable a notification setting, simply click the checkbox. Keep in mind, notification settings are unique to each individual user.
Session Settings
Session settings allow moderators to control permissions. In the same manner that you would employ class management tools, session settings provide moderators with the tools needed to guide their class.
By default, if there are already people in the room when the moderator enables or removes a permission, they will see an alert notifying them of the change. Participants who join later will not receive a notification.
If the session was created with permissions on, all permissions are enabled by default. As moderator, you may choose to disable or enable these permissions for all participants at any time. The ability to manage settings for individual participants is not yet available in Ultra.
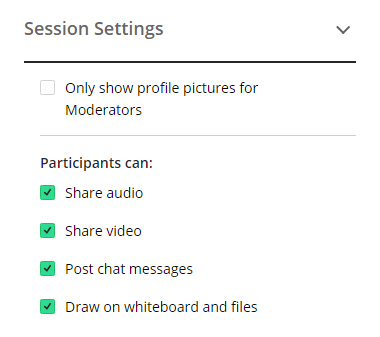
The Session Settings area allows moderators to check a box disabling profiles for attendees without the moderator role. By default, profile pictures are displayed for all attendees to view. Other attendees will not see these settings under My Settings.
The Audio permission allows participants to transmit their audio in the session. If the permission is disabled, participants can still hear transmitted audio, but the Audio Indicator is removed from the Interaction Bar at the bottom of the Media Space.
The Video permission allows participants to transmit their video in the session. As with audio, if the permission is disabled, attendees can still see transmitted video, but the Video Indicator is removed from the Interaction Bar at the bottom of the Media Space.
The Chat permission allows participants to enter chat messages in the session. If the permission is disabled, attendees can still see messages posted prior to the setting change, but the text area in the Chat panel is replaced with a notification that the chat feature has been turned off.
The Whiteboard permission allows participants to use the annotation tools in the Media Space. If the permission is disabled, participants can still view shared content, but the Content Editing tools are removed from the interface. Having permission does not allow participants to load content, which requires moderator or presenter privileges.
For further information please take a look at this Blackboard page.