Your Blackboard course may have an area for groups. Groups may have access to tools to allow for work to be done together, unseen by anyone who is not in the group – except for course instructors.
To find the group area follow the steps in the slideshow below.
Accessing Group Areas
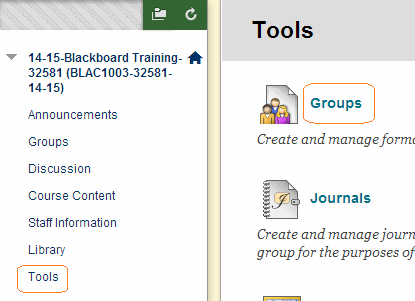
1. There are various way to access group areas.
2. You may click on the Tools menu and then Groups.
Menu Item
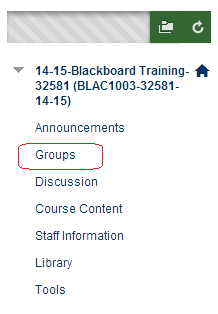
3. Your course instructor may have added a Groups menu item into the course which does the same thing.
Groups Page
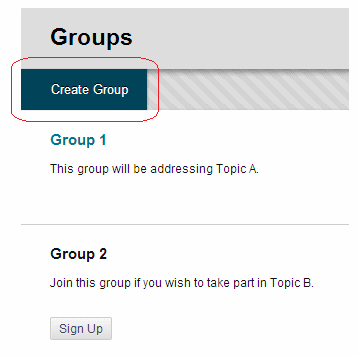
4. The Groups page allows you to see which group areas are available to you. You may find that you can sign up to join Groups or take part in activities.
My Groups
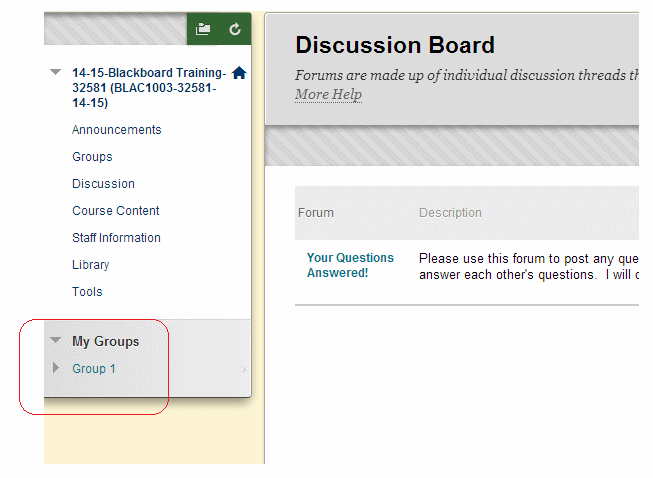
5. If you are a member of a group you can use the My Groups area to see which groups you are in and access group tools and resources.
Group Menu
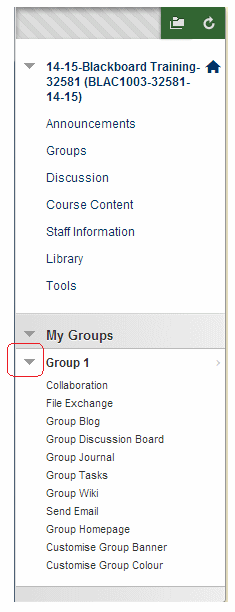
6. Clicking on the arrow highlighted in the screenshot will expand the group menu to allow you quick access to tools if they have been enabled.
Group Area
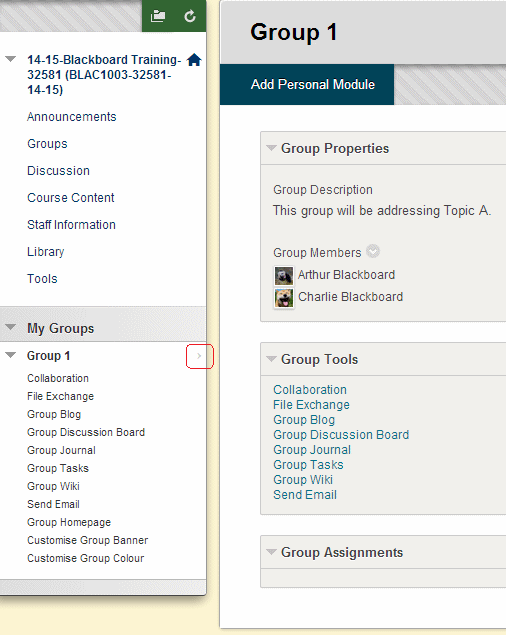
7. Clicking on the other arrow, highlighted in the screenshot, will open your group area, showing you who else is in the group and allowing access to the tools.
Important Note
If you use the file exchange area be careful when adding files. If you add a file with the same file name as an existing file that has already been loaded then your file will delete and replace the existing file. If you wish for your file to simply be added to the list of files and not remove an existing file make sure that you have saved the file with a different file name to any files that have already been uploaded.
