
| Do not open Turnitin in multiple tabs or browser windows. Only use one browser tab to interact with Turnitin. |
ADDITIONAL: Turn It In has recently updated the “Optional Settings” list to include an option to “Exclude assignment template” further information can be found on their help pages.
How to add a Turnitin Assignment to your Blackboard course.
Edit Mode
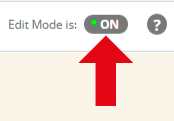
1. Check that Edit Mode is turned ON. This can be switched by clicking ON or OFF.
Choose a Content Area
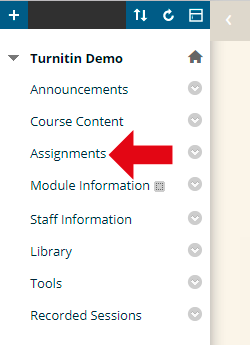
2. Choose the Content Area to which you want to add a Turnitin assignment link. All the content areas work in the same way, if you have renamed or added content areas to your Blackboard course the screenshot above may vary from what you see.
Add TurnitinUK Assignment
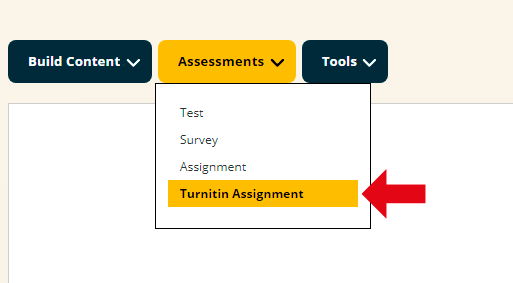
3. Hover your mouse pointer over over Assessments and then click on Turnitin Assignment
Choose an Assignment Type
4. Choose the type of assignment you wish to create and click on Next Step. You will usually want to choose Paper Assignment.
Enter Basic Assignment Details
5. Enter an Assignment Title
6. Enter a Point Value (the maximum points which will be awarded for this assignment). If you do not wish to add a points value, you do not have to, simply leave this blank.
7. Select Start, Due, and Post dates and times for the assignment. The post date is the date on which comments entered using Grademark become available for students to view. If you do not plan to use Grademark, you do not need to worry too much about this setting, although it must be a date AFTER the due date. Note that changing the Post Date once you have entered marks and feedback may result in marks being temporarily hidden. In order to avoid this, make sure you only change the post date to at least THREE HOURS from the current date and time (from the point at which you are changing the post date). For more information, see Editing the Post Date in Turnitin.
8. Choose whether you wish to restrict submissions to filetypes that can be checked for similarity (text based files such as .pdf, .doc, .rtf, .txt, etc). Alternatively you can choose to allow students to submit any filetype. If you choose to allow students to submit any file type, they will be able to submit files which will not be checked for originality. This may include PDF files which have been created as images of text rather than selectable text which TII can read.
9. Click on Submit.
Choose Advanced Assignment Options
10. Enter any Special Instructions for the assignment. For instance you may wish to specify the maximum length of the assignment, or a special format for the title of the assignment.
11. Choose whether or not to allow submissions after the due date by selecting Yes or No in the appropriate dropdown. If you select Yes, students will be able to submit their work to the assignment link even after the due date has passed. Any submissions made after the due date will be highlighted accordingly.
12. If you wish to generate originality reports (these reports identify any sections of text which may have been copied from online sources) select Yes for the ‘Generate Originality Report for Submissions’ field.
13. If you have chosen to generate originality reports, you also need to decide when they should be generated:
–Immediately (First report is final) – Originality reports will be generated upon the student’s first submission. No further submissions will be permitted, and this originality report will be the definitive report used.
–Immediately (Can overwrite reports until due date) – Originality reports will be created immediately each time a student submits. However, students are permitted to re-submit work up until the due date, and upon doing so will overwrite the existing Originality Report.
–On due date – Originality reports will be created once the due date has passed. Students are able to submit and then re-submit during this time, but will only see an originality report once the due date has passed.
14. Choose whether you wish to exclude bibliographic materials when generating the originality report. Generally, you should leave this as No.
15. Choose whether you wish to exclude any text which appears in quotation marks when generating the originality report. Generally, you should leave this as No.
16. Choose whether you wish to exclude small matches from the Originality Report. Generally you should leave this as No.
17. Choose whether or not to allow students to see their Originality Reports by selecting Yes or No in the appropriate dropdown.
18. Choose whether you wish to reveal grades to students only on the post date. If you select Yes then grades entered in Grademark will only be pushed into the Blackboard Grade Centre on the post date, and will be unavailable to students until this point. If you choose No then any grades entered in Grademark will be pushed immediately to the Grade Centre in Blackboard, and will be available to students unless otherwise hidden manually through the Grade Centre. It is recommended that you select Yes.
19. Choose whether you wish to use anonymous marking. Note that you should only select yes if you intend to use Turnitin for the whole end-to-end assignment process, including online marking. If you wish to be able to view student details at any time during the assignment process, then you should choose No for this setting. If you intend to print submissions to mark offline (e.g. on paper) then we also recommend choosing No for this setting. Whilst it is possible to download anonymous submissions, this complicates the process of returning marks / feedback to the individual who submitted the work, since the downloaded files have no identifiable link to the author. Further information on anonymous marking in Turnitin can be found here.
20. Choose whether or not to allow other papers to be checked against submissions made to this assignment by selecting Yes or No in the appropriate dropdown. If you select Yes, any submissions made will be added to the Turnitin student paper database, and will therefore grow the system.
21. Choose which sources to check when comparing submissions. You can check against existing papers which have been submitted to the system, as well as a number of Internet sources.
Add rubric / grading form
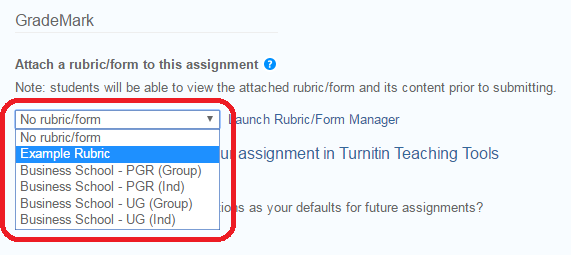
22. If you have created a GradeMark rubric which you will be using to mark submissions online usimg GradeMark, you can add it by selecting it from the Rubric / form drop down list. Note in order to do this you must have set a rubric up already. If you are not planning on using a rubric in GradeMark, you can ignore this drop down list. For more information on rubrics, click here.
23. Click Submit.