
Blackboard allows you to upload a zip files containing web pages and other file types. This guide explains how to add such zipped content to your course.
Course Files
1. From the Control Panel click on Files and then either the right pointing arrow or the course id (shown in screenshot).
Create a folder
2. Create a folder first, into which you will next upload the zip file.
Name folder
3. Enter a name for your folder and click on Submit.
Enter folder

4. Go inside the folder by clicking on its name.
Upload Package
5. Hover your mouse pointer over Upload and click on Upload Zip Package.
Browse
6. Click on Browse and find the zip file you wish to upload.
7. You should not need to tick the box to overwrite existing files – unless you are overwriting an existing package.
8. You should be able to leave the File Name Encoding drop down menu at the default value of UTF-8.
9. Click on Submit.
Unpackaged
10. Your files will be unpackaged and displayed in the folder you have created in the Course Files area.
Permissions
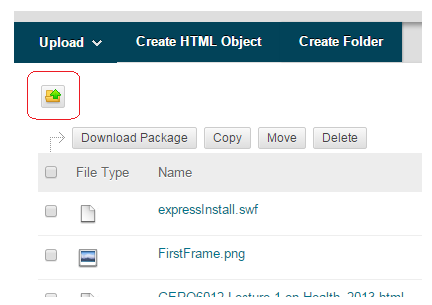
11. Click on the “Go up one folder icon” shown above to go up one level.
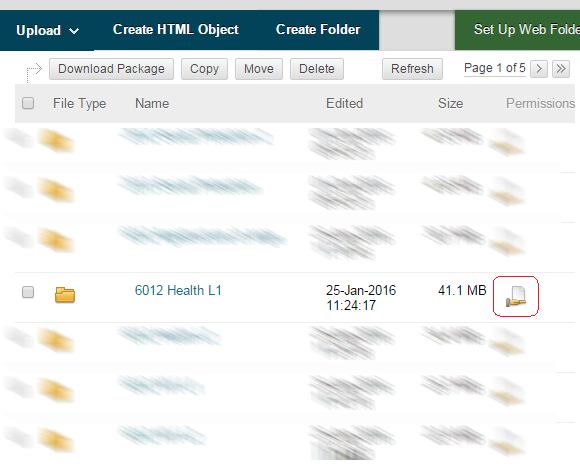
12. Click on the Permissions icon beside the folder onto which you had uploaded the content.
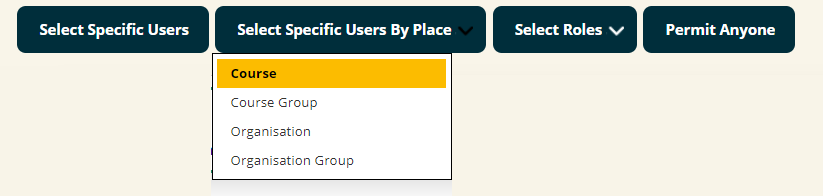
13. Hover over Select Specific Users By Place and then choose Course from the dropdown menu that appears.
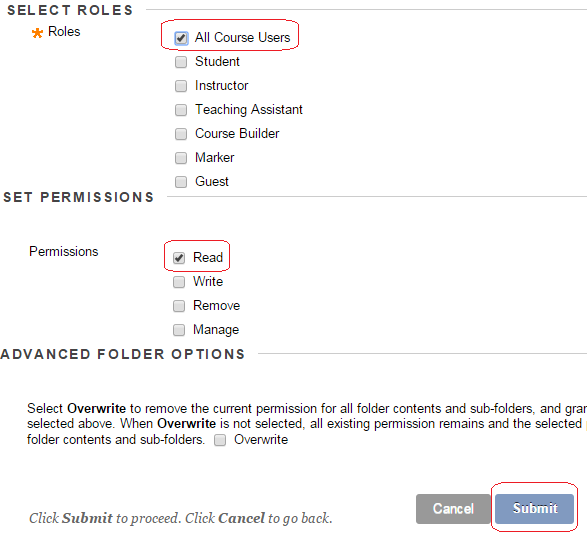
14. Tick All Course Users and students and check that Read is also ticked, and then click on Submit.
Deployment
15. Now we need to allow students to open the web pages. This is done by adding the index (or alternatively named entry page) as a content item within a course.
16. Find the content area in which you wish to add the unpackaged files and choose to either Create Item from the Build Content menu.
Browse Course
17. Whichever method you choose it is necessary to complete the usual details and when adding the attachment choose Browse Course.
Identify “entry point” file
18. Choose the entry point – this is whichever is the first page to access the mini site and is sometimes index and click on Submit. In the above example there is only one html file so this is the one we will select.
Link title and permissions
19. The link title box will show the filename of the html file that you selected in the previous step. Change this to something more understandable, for example “Click Here”.
20. Make sure that Give users access to all files and folders in the folder is selected.
21. Complete the rest of the form in the usual way and click on Submit to finish.
22. Check that your content opens ok by clicking on the link created.