
You may wish to add a menu item to your Blackboard course. This guide explains how.
Edit Mode
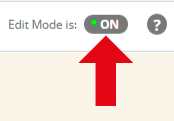
1. Check that Edit Mode is turned ON. This can be switched by clicking ON or OFF.
Course Menu
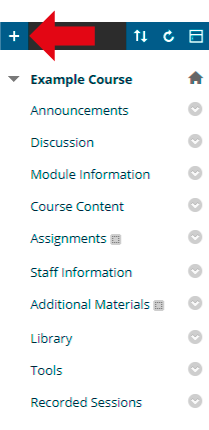
2. Look at your Blackboard course menu. Hover your mouse over the + (plus) icon.
Eight choices
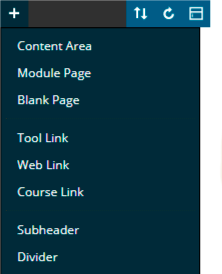
3. You are presented with eight options for adding to your menu.
Create Content Area
This will create a new empty content area.
Create Module Page
This will create a menu item that links a user to a Blackboard module page. Module pages may be customised to contain a limited selection of course modules providing dynamic information taken from the Blackboard course.
Create Blank Page
This will create a single blank page to which the menu item will direct users.
Create Tool Link
This will create a menu item that links a user to a Blackboard tool.
Create Web Link
This will create a menu item that links a user to an external (i.e. outside of Blackboard) website.
Create Course Link
This will create a menu item that links another part of the current Blackboard course you are working in.
Create Subheader
This will simply create a heading that can be used to organise your course menu.
Create Divider
This will draw a line that can be used to separate sections of your course menu.
4. In this example we will create a new content area. However all these options work in the same way.
5. Click on Create Content Area.
Set Menu Item Name
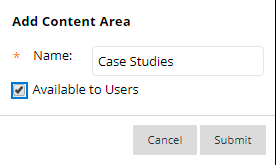
6. Enter a Name.
7. If you wish for students to be able to access the menu, tick available to users.
Positioning
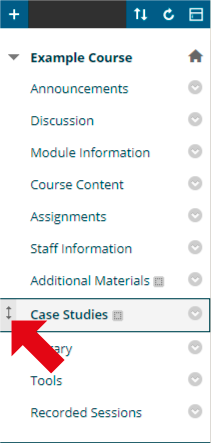
8. Your new menu item will be created. You can re-position it by dragging the up and down arrow icon.