This website aims to provide a brief guide to the equipment provided in the two main types of Common Learning Space (CLS) teaching rooms:
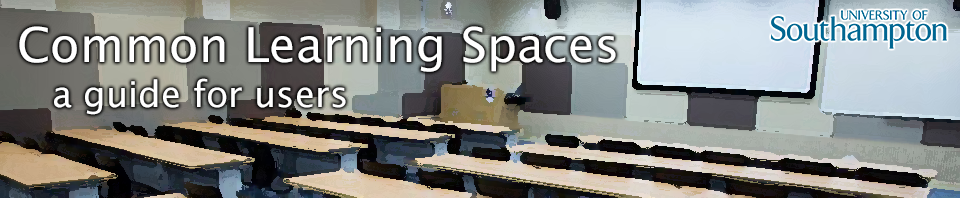
- Larger CLS rooms are mostly used for lectures and can seat 50 or more students. The lectern bench at the front of the room has a touch-screen control panel used to control the room lighting and audio volume, and select the display source; PC, laptop, DVD etc. These rooms also have a DVD player and a visualiser, as well as a bench microphone to enhance your voice. Some rooms also have wireless microphones.
- Smaller CLS rooms are mostly used for small-group teaching and seat less than 50 students. The computer cabinet at the front of the room has a button control panel used to select the display source and control audio volume.
If you have not taught in these rooms before, we recommend you spend a few minutes in a vacant CLS room familiarising yourself with the touch-screen control panel and other equipment, especially if you plan to use your own laptop or the visualiser. See the online guide to equipment for details.
Standard equipment
- Windows PC with keyboard and mouse, connected to the University network.
- VGA, audio and HDMI cables to connect a laptop or other device. You will need to bring your own Apple Mac or iPad display adapter if required.
- Eduroam Wi-Fi
- network point to connect a laptop using your own network cable.
- auxiliary HDMI port and USB power port to connect a tablet or other device. You will need to bring your own HDMI cable and display adapter if required.
- data projector and screen – or a large flat-panel display in some smaller rooms.
- amplifier and speakers for audio (voice, PC, laptop and DVD).
- area microphone to record your voice using the Panopto recorder.
- whiteboard and pens – or blackboard and chalk in some rooms.
- internal phone – use this call ServiceLine (x25656) if you need to report a problem. Note that calls from CLS rooms are given priority if there is a queue.
The PC uses Windows 10 and Office 2016, so if you usually use older versions you need to learn how to open programs and files using this set-up. The default web browser is Internet Explorer 10, but Google Chrome can be selected from the programs menu. When you log in to the PC using your university username and password you will be able to access your My Documents file store, so you don’t need to bring your PowerPoint slides (or similar) on a USB drive.
The visualiser or Video OHP is a stand with a video camera and lights; anything placed under it can be shown on the room’s projection screen. It is typically used as an alternative to a whiteboard (e.g. for writing equations or drawing diagrams) or to show books, journal articles or 3D objects.
The Panopto recorder installed on the PC can be used to record all or part of your teaching session. It will record anything shown on the screen, plus audio from the area microphone. You need to start the Panopto software, log in, choose the relevant Blackboard course and start recording. When you stop, Panopto automatically adds the recording to the Blackboard course so your students can view it. Some larger rooms have a ceiling-mounted video camera that you can also choose to record, and you can even select different views (bench, whiteboard etc.) during your lecture. You can install Panopto on your laptop, office PC or home PC to create recordings using these.