The mighty Riso

Katie had ambitious plans for us during this session!

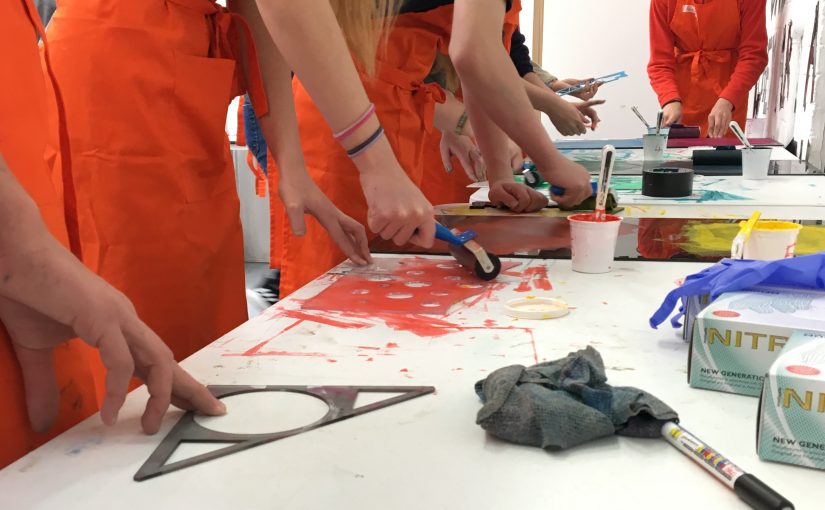
One group began by selecting from last weeks’ artworks to create a showcase of the processes and ideas they had explored. Each member had their own individual  publication that documented their outcomes from the previous week. As a group they worked together to design a collaborative cover which was then printed on the Risograph using coloured paper and the ‘Riso’ trademark fluro inks. Georgia de Buriatte (Saturday Club assistant and BA Printmaking 3rd year student) shared her bookbinding skills with the group, showing us how to fold and saddle stitch the pages so we all had our own finished book.

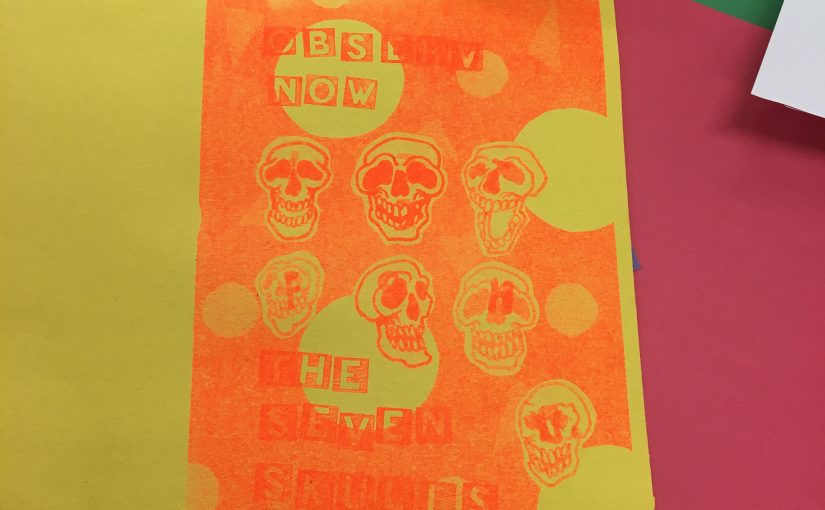
The other half of the group became an editorial team; selecting images and developing text about the Saturday Club projects this year, which will become a publication for us to keep and share. Katie talked about working with Studio 3015 at Winchester School of Art and the process of designing in a team to create books, magazines, posters, prospectus and all kinds of printed matter. She showed us some examples of the projects she has worked on and how different printing methods, binding and paper choices all affect the visual message of the content. The publication team annotated and edited text about each workshop session and chose from the stock of photographs taken each week to showcase both the outcomes as well as the materials and methods used.

Half way through the morning we swapped around so everyone got a chance to use the mighty Risograph, make their own book and have their input into the publication.

The WSA Saturday Club year book will also be printed on the Risograph, when it is finished we will share on the blog so keep your eyes peeled…

Here is bit more about the Risograph:

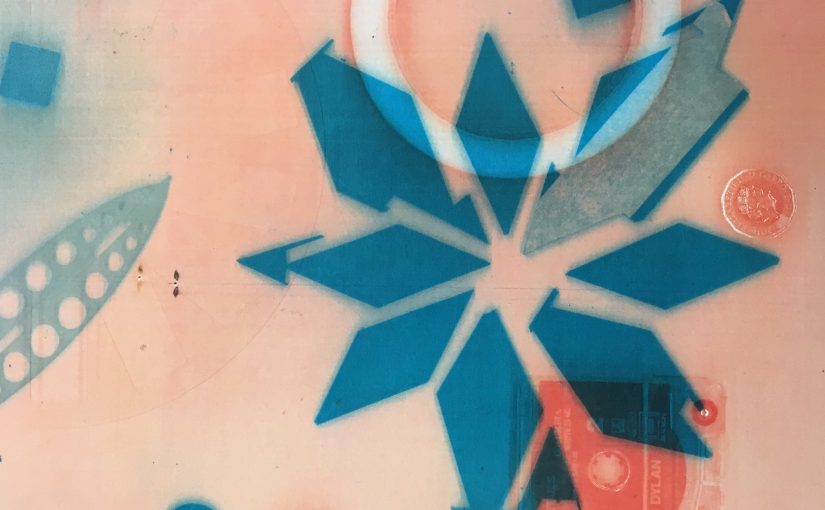
“The Risograph is an environmentally friendly and cost effective printer, which uses soy-based inks to produce unique outcomes. Each stencil (master) is made from thermal sensitive paper and unlike offset printing it only takes a single print for the screen to be fully inked and ready to print thousands of copies. The Risograph is extremely energy efficient and generates a minimal amount of waste.” – Hato Press

layer, edit, scan, copy…repeat

Graphic Designer Katie Evans (WSA graduate, current MA student and designer with WSA 3015 studio) led us in a session exploring techniques linked to Risograph printing. We used processes which mimicked the Risograph, getting to grips with the concepts of how you might create an edition or publication.

Using scanners, in built mac cameras, the photocopier (a pretty fancy one) and straight forward cutting and sticking we physically recreated the Risograph process to understand its pro’s and cons.

A set of found objects were given as a starting point and members were divided up into groups and worked their way around ‘stations’ in the room; each had a different set of equipment and a series of action words as prompts.

The groups then had free reign to respond in any way they chose; which ranged from creating 3D sculptures combining cutlery and fruit, to layering their own portraits over photocopied cassette tapes, perspex remnants from the laser cutter and stencilled shapes cut and repeated to form abstract patterns.

The outcomes were so varied and showed us how often having constraints can stop you worrying about outcomes and allow you to focus on exploring the possibilities in the process. Some of the layered single coloured photocopied objects were really very beautiful.

Take a look at our next post when we actually got to use the Risograph itself!

Clay!

Today’s session was all about exploring the possibilities of clay. With very little guidance the group began to play about with a lump of clay. Instinctively members began to build, extend, grow, impress, indent, impress, loop, mold, press, pummel, pinch, pull, poke, roll, stretch, stack, stroke, score, scrape, thump, topple and smooth the clay as soon as it was put down in front of them.

To begin with we worked with no tools except our hands, later introducing found tools from the kitchen drawer. We also thought about how we might create small units: coils, containers, cones, cylinders, donuts, letters, leaves, pebbles, strips, sticks, squares, spheres and anything else the group could conjure up. We explored the clay’s material properties with no notion of what we might make.

Mid-way through the morning we looked at some images of how clay is used in our every day lives, from tea cups, to toilets, sewer pipes and bricks. We also looked at artists who push the material possibilities of clay, thinking not just about making representation objects but how what we make can reflect both the material and the physical processes of making.

We worked focusing on the tactile exploration, thinking more about the experience than outcomes and enjoying the process. We created some fantastic experiments and we wait to see if they survived the kiln, as they are going to be fired over the Easter break.

Take a look at the pinterest page for more inspiration

https://www.pinterest.co.uk/vanessarolf/playing-with-clay/

The brilliant ceramicist Nao Matsunaga will be exhibiting at the Crafts Study Centre in Farnham from 3rd April 2018 – do go and see the show if you can.

http://www.csc.uca.ac.uk/new-events/2018/4/3/70pv9umzst87dqqm9f0v5fim8j65u5

Process led printing

This morning was all about print with Andy Reaney, Printmaking technician. Andy gave us a short introduction to the ideas around process led or rule bound making and showed the group artworks created by instructions set out by artist Sol le Witt as a starting point.

One wall of the room had laser cut offcuts in a range of different shapes, patterns and sizes. These random found ‘plates’ would be all we would be printing with for the session. We then got straight into the ‘games’ that Andy had set up to further constrain our decision making and get us to focus on the process as much as the outcome.

We threw dice to select the shapes we would use to relief print from, again to decide the colour ink we would use and again to locate where on the paper the plate would be positioned. Each member of the group took it in turns to print on the same piece of paper creating random layered shapes and colours which created some really playful effects.

The second ‘game’ involved the first person simply choosing which corner of the piece of paper to print their ‘plate’ and the rest of the group following their lead and over printing in the same place. The group worked away creating a whole wall full of collaborative prints.

The second half of the session members could use any plate, colour and composition they wished and everyone made a one off print. Having been introduced to the materials that we had to work with and the basic relief printing process there was no stopping us now that the constraints had been lifted. Some people chose to continue the abstract pattern making theme whilst others chose a more narrative approach, using the pre cut plastic shapes to make an image that told a story.

It was a really productive morning and everyone should be very proud of the fantastic work they created in just 3 hours. It was a brilliant introduction to printmaking but also to how limiting decisions can be a very creative process.